How To Program A Code On An Ademco Alarm System
Honeywell Ademco alarm systems are easy to use and are found in homes and businesses worldwide. If you choose, you can program your alarm system yourself. By following a few simple steps, you can access your alarm system's programming menu, enter a code and change its programming in a way that's specific to your needs.
Your Honeywell Ademco alarm system is easy to program by using the data codes listed in your system manual. To access its programming menu, enter your installer or master code on the digital keypad and then enter the programming code applicable to the changes you wish to make.
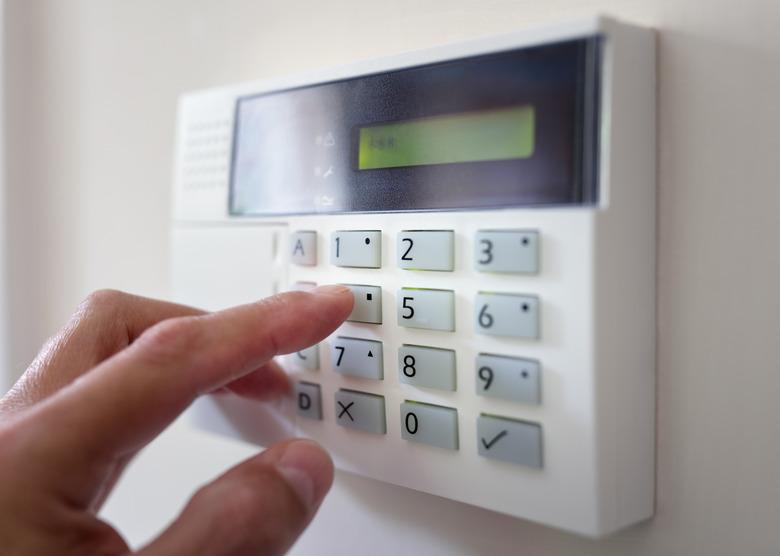
One of the easiest keypads to use for programming your alarm system is the Honeywell 6160 Deluxe Keypad. This particular model is an alpha keypad that shows all of the digits or values you'll need to see while programming. An earlier version like the Honeywell 6150 will not show the complete value display, as it is a fixed English keypad.
To get into your system's programming mode, input your installer or master code if you know it plus "8" and "00." You'll know you've accessed the right mode when you see the message "Installer Code 20" or "20" displayed.
Your installer or master code is a four-digit number programmed into your system during its installation. This code is known only to you and the previous homeowner if the system was already in place. Each person you allow to use your home security system can have a code that's user-specific with different limitations and authority levels.
Programming With Honeywell Alarm Codes
After accessing your alarm system's programming menu, press * and the data field number. To know which data field number is specific to which action, consult your system's programming guide or manual. There, you will find a full list of numbers applicable to the changes you wish to make using Ademco keypad programming. As an example, by entering *32, you'll be able to access the system's fire alarm sounder timeout and program it to your specific needs by using key commands to change the settings (this code may vary by system model).
After you've made the necessary changes, you will hear three beeps from your keypad and see the next data field. This means that you've succeeded in changing your alarm system programming. When you're done making changes, press *99 to exit the programming menu.
When programming your Ademco system, make sure to press each key within four to five seconds. If you wait any longer, the system will not accept the code. Also, don't panic if you've hit the wrong key. Your alarm system will reset itself, and you can start the process again. If your alarm system is online, and you have any questions or concerns about programming it, you can contact your security company to walk you through the process.
Changing Your Installer Code
If you don't know what your installer code is, you can get in via your system's back door and enter a new installer code. To do this, power down your system by unplugging the transformer and disconnecting the backup battery. Wait for 10 seconds, then plug in the transformer and reconnect the battery. Within 30 seconds, press and hold the * and # keys at the same time. You'll see "20" or "Installer Code 20" on the keypad's digital display. From there, press #20, and the system will display the current code one digit at a time. Press *20, then enter a new installer code. When you hear a beep, indicating the new code has been accepted, press *99 to advance out of the programming mode.
