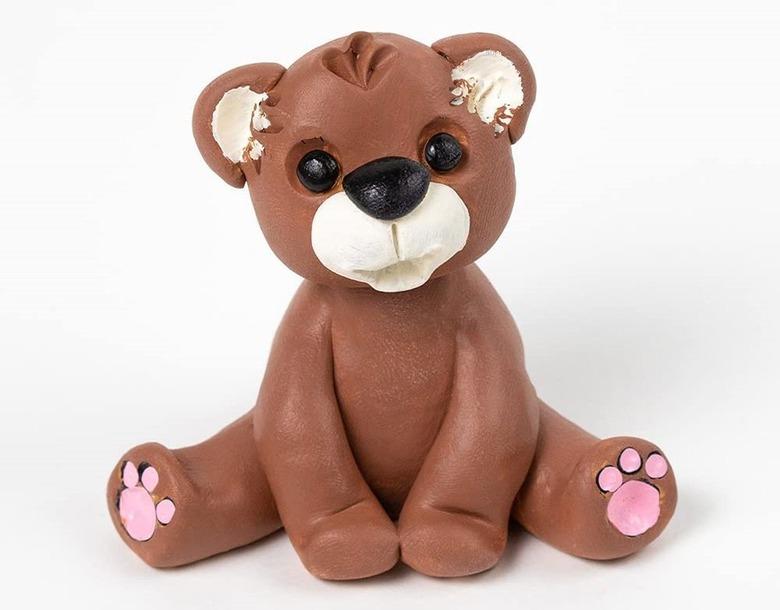
How To Paint Sculpey Clay
Painting Sculpey is one way to create desired hues without using multiple colors of the polymer clay. It's also easier than mashing two colors of Sculpey together to create a specific shade, since you know you'll get the exact shade you want when using paint. For best results painting Sculpey and similar brands of polymer clay, scuff the surface gently with a very-fine sandpaper before applying paint.
Preparing Sculpey for Painting
Your Sculpey creation is ready to paint after baking, and after the piece has cooled completely. Paint applied while the piece is still warmer than room temperature may not adhere or dry properly, since the paint itself works best within a moderate temperature range.
If your baked Sculpey piece doesn't have extremely fine details or debossed areas, gently sand it with a very-fine sandpaper. A sanding sponge, which conforms to shapes a little easier than just a sheet of sandpaper, is one way to work around curves and simple details in your polymer clay creation. A gentle sanding helps the paint adhere.
For highly detailed pieces, such as beads or other very textured objects, skip the sanding and use rubbing alcohol instead. Sculpey and other polymer clay sometimes feels a little oily, even after baking. The rubbing alcohol removes the oily coating that prevents paint from adhering. Apply the rubbing alcohol with a cotton swab or a lint-free, dye-free cloth, as some colorful fabrics may otherwise bleed and stain the Sculpey. Allow at least 10 minutes for the Sculpey to dry before painting it.
Painting the Sculpey
As with any painting project, the quality of both the paint and the brushes are key factors in the quality of the completed paint job. Buy quality artist's brushes from a craft or art-supply store in assorted sizes and tip shapes, as a brush with a fine point works well for detail work, while a flat-tipped brush is great for painting straight lines.
Choose a quality acrylic or water-based paint. Both craft and artist-grade acrylics work well, but some bargain craft acrylics are too watery and won't offer ample coverage. The thicker the paint, the better. Strategize your painting plan before diving in; for instance, if you've made a Sculpey cat, it makes sense to paint the entire cat a base color, then add the fine details and features with a detail brush. Place beads on toothpicks or strands of craft wire before painting, as this makes it easier to paint without messing up the finish or getting paint on your fingers.
Apply a coat of your chosen acrylic paint color evenly over the Sculpey, allowing it to dry before applying a second coat or painting another color in an adjacent area. In some cases, it makes sense to avoid painting the bottom edges of the piece until the top area is dry, then flip or rotate the piece to coat the unpainted areas. When you're happy with your work and the piece is completely dry, apply Sculpey glaze in thin layers, allowing each layer to dry before applying the next. Other water-based clear-coat finishes also work, but you may wish to try them on a scrap Sculpey project first to determine the final result.
