The Creative IKEA Storage Hack That Gives Any Kitchen An Instant Upgrade
The kitchen is often the hardest-working room in the home, and people are always looking for easy, stylish, and effective ways to maximize their kitchen storage and organization. Especially when space is at a premium, storage options that are as attractive as they are practical are essential for creating a kitchen that optimizes both functionality and aesthetics. But what if you are on a budget — is it possible to achieve both without breaking the bank? The answer is absolutely, with IKEA to the rescue once again!
Instagrammer @Depruimpjes shared how she turned the concept of the IKEA MOSSLANDA picture ledge upside down (literally), and flipping it bottom-side-up to create the perfect kitchen wall shelving option to cap her tile backsplash for an ultra-custom look. Complete with a front face board with a concealed downward lip, the overturned picture ledge is ideal for mounting and hiding an LED strip for luxe under-shelf lighting. And at only $9.99 per shelf, or about $5.51 per linear foot you'd like to cover, it is an extremely affordable IKEA item hack that packs a huge design punch and adds practical storage.
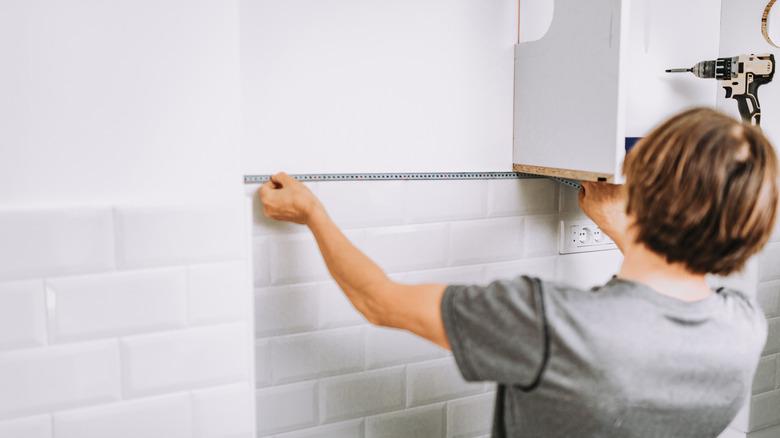
Each IKEA MOSSLANDA shelf is 21 ¾ inches wide, so it covers just shy of two linear feet. Before you can begin your easy DIY project, measure the length of the backsplash you'd like to top to determine how many shelves you need to buy, rounding up to ensure you have enough. Once the shelves are in hand, the beginner-friendly DIY will only take an hour or two to transform your kitchen backsplash with the stunning custom-capped wood ledge of your dreams.
Upside down IKEA MOSSLANDA shelves make a gorgeous, custom kitchen backsplash ledge
To create your own IKEA MOSSLANDA kitchen ledge, determine the starting point. If there is an open end where the tile terminates on an open wall, begin installing your shelves on this side for a finished visible edge. Use appropriate fasteners for your substrate, locating the studs with a stud finder prior to drilling. Instead of installing the shelf as a picture ledge with the U shape facing upwards, flip the shelf upside down. Resting the shelf on top of the tile and ensuring it is level, mount it to the wall. Butt the next shelf against the first and repeat the process until you reach the last shelf.
It is unlikely your measurement will perfectly match the shelf width, so you'll likely need to cut the last one to size. Since it is delicate MDF and veneer, use painter's tape to cover the cut line and remark the line on the tape. The tape will help prevent the veneer face from chipping. When in doubt, the Instagram DIYer said she cut the piece slightly larger and hand sanded to avoid chips.
You may need to drill an additional hole for securing the shelf if you had to cut one of the originals off. Install it on the wall with the cut side facing the wall. If you have two open sides, face the cut side into the previous shelf as long as the veneer cut nicely. Finish the ledge to look seamless by caulking the bottom where it hits the tile, as well as the side where it dies into the wall.