How To Seal Grout
It's important to know how to seal grout whether you're undertaking a new tiling job or resealing existing grout because without sealer, cement-based grout, which is the most common type, is vulnerable to moisture, mold, mildew, and stains. Grout sealing is a pretty simple home improvement job that most homeowners can DIY, but when sealing new tile grout, timing is crucial. You have to give tile grout time to dry completely before sealing, or the sealer will lock in the moisture, but if you wait too long, you risk allowing grime to collect and mold to establish itself in the pores of the cementitious mixture.
Does Grout Need to Be Sealed?
Not all types of grout need sealing, so if you are planning to reseal your shower or a kitchen backsplash, it's important to know what kind of grout you have. Epoxy grout and premixed grout with a urethane or acrylic base have plastic surfaces that are nonporous and invulnerable to moisture penetration. The shiny, smooth surface of these types of grout is a dead giveaway that sealing isn't required.
Cementitious grout, on the other hand, has a somewhat duller surface appearance, and if the grout is sanded, it also has a rough, grainy texture. Sanded cementitious grout is the type you're most likely to find in wide grout lines on ceramic tile installations on floors and walls. If the joints are very narrow (1/8 inch wide or less), they may be filled with unsanded cementitious grout, but the grout may also be plastic. If you aren't sure, try scraping the grout with a knife. If you get dusty scrapings, the grout is cement-based and needs sealant.
Grout Sealer: Which Type to Use?
When you finish something made of wood, you have a choice between a film finish, which remains on the surface and creates a protective coating or membrane, and a penetrating sealer that soaks into the wood. The same is true of grout sealer, but unlike wood finishes, which may be derived from natural sources, like linseed oil or tung oil, all grout sealers are synthetic. Most contain urethane or acrylic polymers carried in water or in a solvent. Homeowners doing their own sealing can usually bypass solvent-based sealers, which are designed more for industrial rather than residential use, and focus on easier-to-use low-VOC, water-based products.
When deciding between a membrane-forming and penetrating sealer, the penetrating type is usually the best choice. It soaks into the grout and protects from within, while a membrane-forming product stays on the surface and can peel away after a few years. However, when you want to change the grout color, a pigmented membrane-forming product might be a better choice.
When using a penetrating sealer on grout for glazed tile, you can wipe it on with a rag or brush; you can use a roller; or, when sealing floors, you can even use a mop. Some low-VOC products come in a spray bottle, which makes application very easy. A film-forming grout sealant, on the other hand, is a little like paint, and you usually have to apply it with a small brush.
Penetrating sealer
- Protects from within
- Recommended for damp areas, like showers
- Usually clear
- Can be applied with a brush, sponge roller, or aerosol sprayer
Membrane-forming sealer
- Forms a film that can peel off
- Best for relatively dry areas
- Can be pigmented
- Usually applied with a brush
Things Needed
-
Grout haze remover (as needed)
-
Sponge
-
Baking soda
-
Dish soap
-
Spoon
-
Toothbrush
-
Cloths
How to Seal Grout
If you want to seal new grout, you have to make sure it's dry, and if you want to reseal existing grout, you have to make sure it's clean. Failure to do so will seal in water or grime and is a classic mistake that beginners make.
1. Remove Grout Haze
After you've grouted new tiles, you need to remove all the grout haze before you seal. Grout haze is the thin film of residue left on the tiles after you've washed off all the obvious excess grout. If you don't do this and you get sealer on the tiles, it will lock in the haze. You can usually remove most grout haze by wiping down the tiles with wet cheesecloth, but you may need a stronger cleaner for stubborn haze. The best DIY option is a commercial grout haze remover. To avoid scratching the tiles, rub them only with a nonabrasive tool, such as cheesecloth or a sponge.
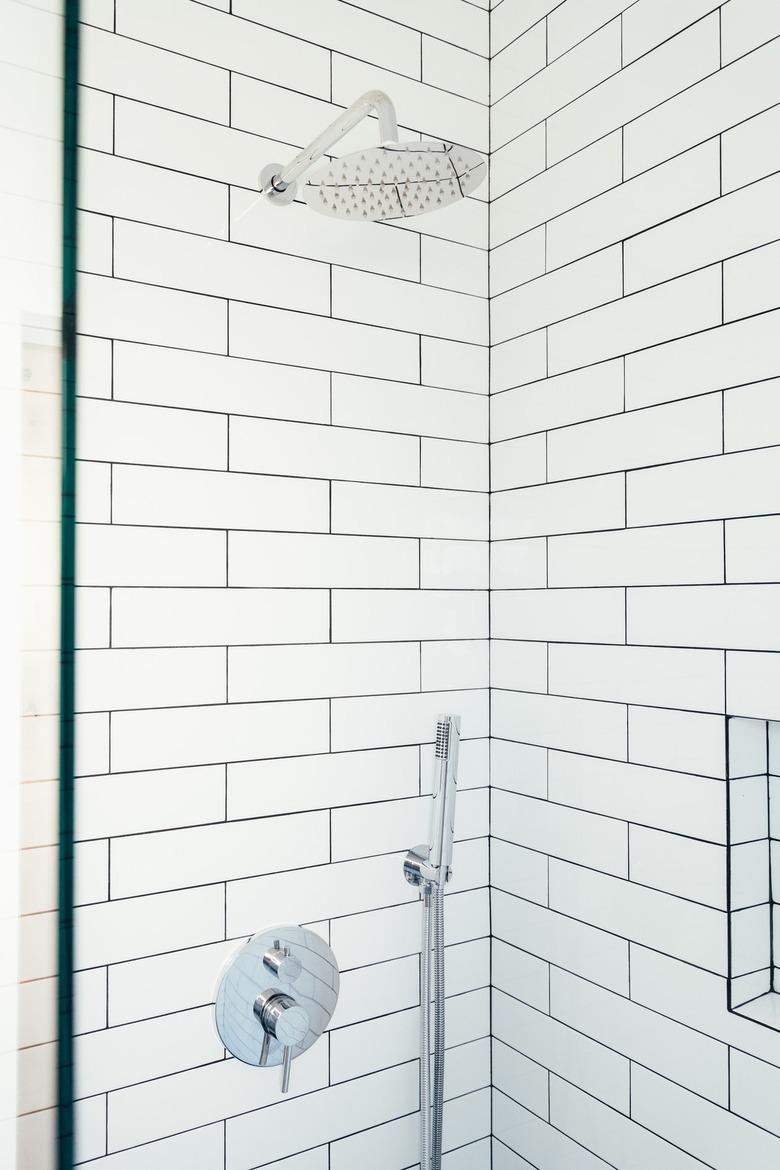
If you're sealing new grout, give it time to dry completely before you seal it. If you're sealing existing grout, you need to clean it before you reseal. This is especially true for tile on horizontal surfaces, such as floors and countertops, and in wet areas, such as shower walls and floors, where mold is a problem.
An effective way to clean grout is to first wash down the surface with soap and water and then make a grout cleaner using the following ingredients:
- 1/2 cup baking soda
- 1/4 cup hydrogen peroxide
- 1 teaspoon dish soap
Apply the mixture to the grout with a spoon. Let it sit for five to 10 minutes and then brush vigorously with a toothbrush. When you're finished, wipe off the excess paste with a damp cloth and then use a dry cloth to wipe the grout clean.
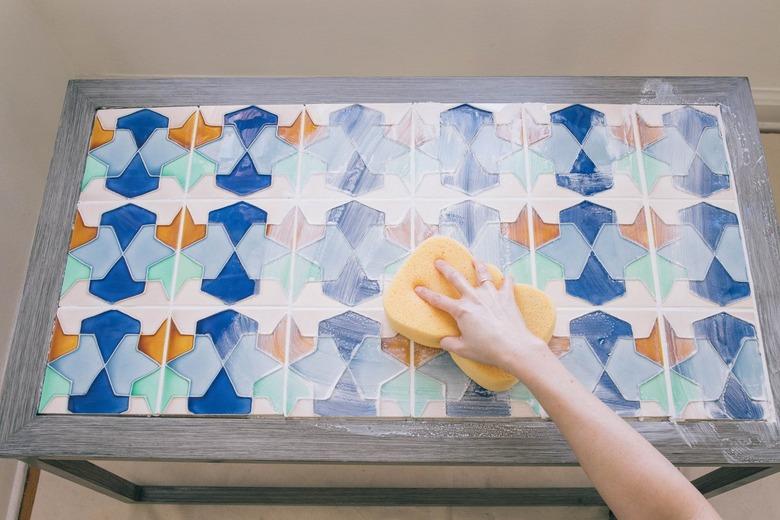
You can apply grout sealer with a sponge, foam brush, bristle brush, or mini roller. You can also use the sealer applicator that comes with the sealer if one is supplied, or you can spray it if the sealer comes in a spray bottle. Rolling is probably the fastest and most effective way to apply grout sealer to large tile surfaces, such as a tile floor, but you'll probably need a second tool, such as a sponge or foam brush, to get in corners. Try to get most of the sealer on the actual grout but don't worry if you get some on the tiles; you'll remove that next.
Wait for about 10 minutes and then wipe the excess sealer off the tiles with a damp rag. Don't skip this step because if you let the sealer dry on the tile, it will be much more difficult to remove.
After you've wiped the excess sealer from the tiles, drip a few drops of water on the grout to test the sealer. If the water beads up, you got an adequate seal from the first coat, but if the water soaks in, you need a second coat. In wet areas, like showers, assume you need two coats for insurance even if the water beads up after the first coat. Wait about 30 minutes for the first coat to dry before you apply the second coat.
Let the sealer dry completely, as directed by the manufacturer, before using or cleaning the tiled area.
Sealing Grout FAQ
How Long to Wait Before Sealing Grout?
Cementitious tile grout takes about 48 hours to dry completely, but in damp areas or areas of high humidity, it may take a little longer. Grout lightens in color as it dries, and it's usually ready for sealing when all of it has turned a uniform lighter shade of the color it was when you applied it.
The amount of time you need to wait for sealer to dry before you walk on a tile floor or use the shower depends on the type of grout sealer you use. Some products need 48 hours to dry, while others need only 24. Check the instructions on the container for information about how to seal grout using the product you purchased.
Grout in showers and on floors in high-traffic areas should ideally be resealed every six months or so, while in less traveled areas, you can wait for two years or more. If you have natural stone or unglazed tile floors, they also need periodic resealing at about the same intervals, and when you seal the tile with tile sealer, you'll be sealing the grout at the same time.
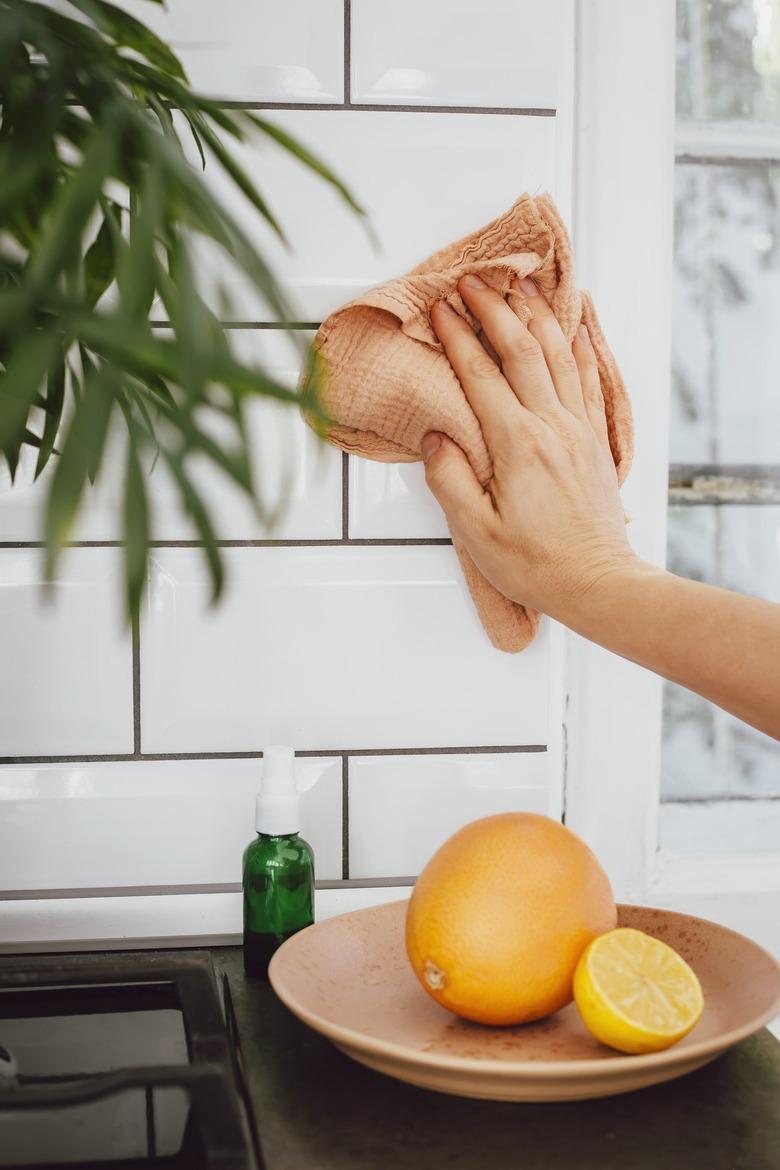
Yes, you can definitely seal over old grout. In fact, resealing is recommended whenever you deep-clean existing grout. If you're unsure whether sealing is necessary on an existing tile surface, such as a kitchen backsplash made with subway tile, try the water test: Spritz the tile with water, and if the water soaks into the grout without beading up, resealing is recommended.
Penetrating sealers soak into the grout, so you can't remove them even if you want to, but they'll eventually wear off on their own. Do a water test before resealing old grout, and if the water beads up, hold off on resealing because the new material probably won't stick. Film-forming sealers can peel off like paint, so when applying a new film, it's best to scrub off any loose material with a toothbrush.