How To Turn Clear Glass Into A Mirror With Spray Paint (2 Methods)
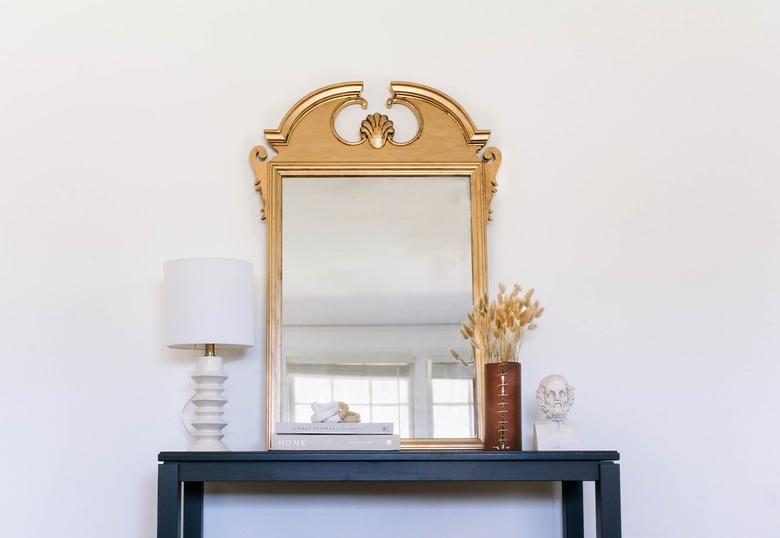
A specialty spray paint, such as Rust-Oleum Mirror Effect or Krylon Looking Glass, gives virtually any smooth glass objects a mirrored makeover, allowing you to transform current home decor pieces or to upcycle old jars or baubles into trendy home decor pieces. Much like a real mirror, the trick to a mirrorlike finish is spraying the coating on the reverse side of the clean glass. For maximum reflectiveness, choose a surface to paint that is completely flat and smooth rather than textured. Here are two ways you can create your own stunning mirror decor with a plain glass surface and a can of spray paint.
How to Turn Clear Glass From a Picture Frame Into a Mirror with Spray Paint
Things Needed
-
Picture frame with removable glass pane
-
Microfiber cloth
-
Scrap cardboard, paper bags, or tarp
-
Protective gloves (optional)
More Like This

Turn the protective glass from a picture frame into a fully functional mirror by applying multiple coats of mirror-finish spray paint. Look for a frame that has an easily removable and replaceable backing, which normally sits behind the picture in the frame. One or two thin coats of paint generally isn't enough for a full mirrored effect. Rust-Oleum recommends up to five coats for maximum reflectiveness.
1. Clean the Glass
The glass surface must be completely clean on the back side in order for a pristine mirror finish to occur. Fingerprints and dust left on it become trapped in the paint and permanently visible in the mirror finish. Carefully remove the backing material and the glass from the frame, setting the glass front-side down on a clean work surface. If the glass has never been removed before, it's probably fairly clean, so a simple wipe with a lint-free microfiber cloth is enough. If it shows any smudges or other marks, use glass cleaner and a cloth to thoroughly clean the glass.
Set up a spraying area in a well-ventilated space, such as in an open garage. Set scrap cardboard, paper bags, or a tarp over an old table for an instant workspace that's at a better height than working on the ground. Set the cleaned glass with the back side facing up atop the spraying area. Be sure not to touch anything but the side edges of the glass in the process. If this seems difficult, wear rubber gloves to prevent fingerprints or grab the sides of the glass with a lint-free cloth.
Shake the spray can for about a minute or as directed on the can's label. Hold the can 10 inches away from the glass and spray across it, starting the spray just before you anticipate the paint burst hitting the glass and ending each burst slightly beyond the opposite glass edge. Continue in slightly overlapping sweeps, moving your arm consistently as you spray until the entire back of the glass is coated.
Wait at least one minute or as directed on the spray can label before applying the second coat to allow the first coat to dry. Paint in a different direction than the first coat; for instance, if the first coat is horizontal bands of overlapping paint, apply the next one vertically or diagonally. Repeating the process for up to five coats or until the finish looks thoroughly covered, allowing the paint to dry between each coat.
Once your latest coat of paint is dry to the touch, as recommended by the specified amount of time on the can label, carefully flip over the glass, handling only the edges. The finish should resemble a mirror with consistent reflectiveness throughout. Hold the glass up to a light source and look through the front unpainted side to reveal any areas that may need more mirror-finish spray paint. Paint as needed and wait again for the paint to dry.
Once the mirror finish looks as expected, let the paint fully dry as directed. Then, carefully set the mirror back in its frame. Set the frame face down to do so with the plain glass front also facing down. This means the painted side should be facing up. Set the backing cardboard in place over the mirror and position the holding clips back in place to secure the mirror and backer within the frame.
Tip
If you're painting a medium to large pane of glass, you may need more than one can of paint. Read the paint manufacturer's estimates for paint coverage and keep in mind that you'll need up to five coats of paint to achieve a completely realistic mirror effect.
How to Turn Clear Glass Into Faux Mercury Glass with Spray Paint
Things Needed
-
Scrap paper
-
Tarp or flattened boxes
-
Protective gloves (optional)
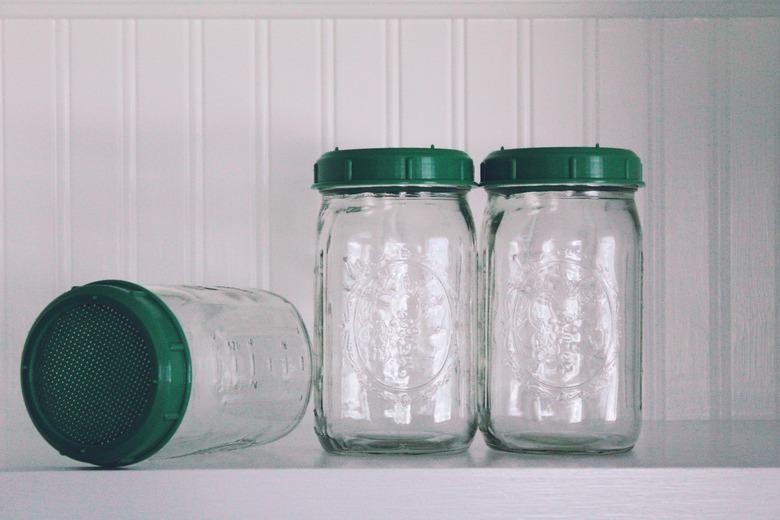
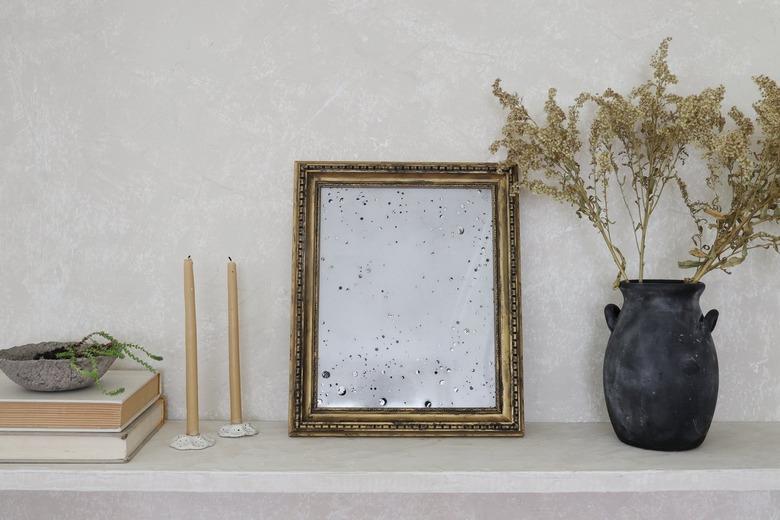
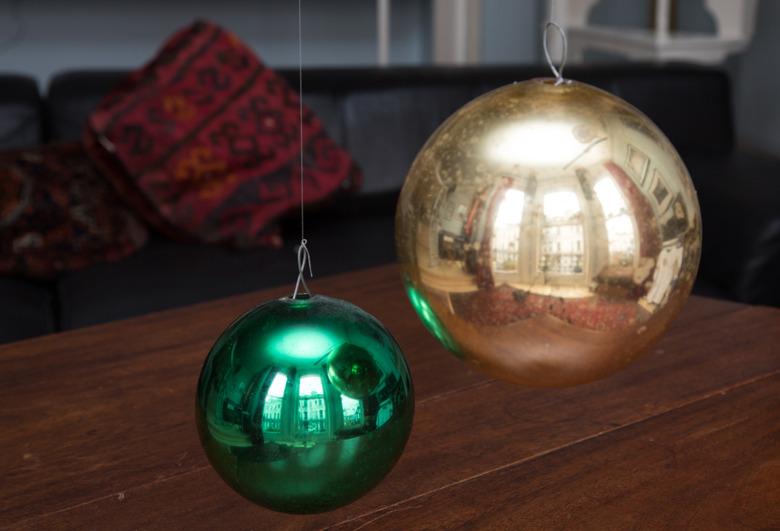
Real mercury glass or silvered glass is a collectible style of antique decor made with a silvery coating embedded between two layers of glass. Mirror-finish spray paint and a mix of equal parts water and vinegar allow you to recreate the look of mercury glass without the hefty antique store prices. This look also emulates antique, well-worn mirrors with some of the mirrored finish wearing off, but the appearance is not quite as reflective as an actual mirror. Feel free to use interesting clear jars, vases, or baubles as long as the glass item is wide enough to easily spray paint the inside.
1. Clean the Glass
Clean the inside and outside of the glass with your favorite glass cleaner. If the glass has any oily residue on it, rubbing alcohol is a great cleaner that also removes the oil for a streak-free clarity.
Apply painter's tape around the project glass near the top so no overspray gets on the outside of the glass. If you want the rim to remain paint-free, cover it as well. The same goes for the inside bottom of the glass vessel, which probably doesn't need paint since it won't be visible most of the time. Tape scrap paper around the entire outside area of the vessel as well to prevent overspray.
Find a workspace out of the wind and in a well-ventilated area, such as a patio on a wind-free day or in an open garage. Cover the work area with an old tarp or flattened cardboard boxes, covering a slightly larger area than you think necessary since some of the spray may travel nearly sideways as you paint near the glass rim.
Mix equal parts water and white vinegar in a spray bottle. For a slightly less reactive mixture, use one part vinegar and two parts water. Set the spray bottle near the project glass in your work area.
Adorn gloves for added protection and shake the mirror-finish spray paint can for at least one minute or as directed on the label. Spray the inside of the vase carefully, working your way around and rotating the vessel so that all sides and surfaces inside receive paint. Do not wait for the paint to dry before moving on to the next step.
Spray the wet paint with the vinegar solution. You may have as little as one minute of working time, so act quickly. Spray all the areas you wish to distress and then blot them immediately with a clean, white microfiber cloth. Let the glass dry for 30 seconds or so.
Repeat steps 5 and 6 as needed if you'd like the look to appear more opaque. If you're happy with the amount of silver color on the glass, no additional coats are needed. Once complete, allow the inside to dry as directed.
Worn antique mirrors in particular often have black marks where the silver is missing. With DIY, you can create the same look with your mercury glass or antique distressed mirror finish by spraying a coat of matte or flat black paint over the mirror paint. One coat is often all that's needed but wait until it dries before touching it.