Create A Chic Acrylic Tray Using Resin And Fabric
We love the look of acrylic for both decor and function. This simple acrylic tray from Amazon is waiting for a splash of color and pattern. You might have seen coffee tables and dining chairs made from clear acrylic as well. So chic and functional.
Today we are sharing a simple DIY project to add your favorite fabric to an acrylic tray using resin. We used a block print cloth napkin as our fabric but you could use any fabric or patterned paper as well. The pour over resin will give a thick glossy coating to the fabric. Take a look and see how simple this tutorial is!
Things Needed
-
Fabric (we used a cloth napkin)
-
Gloves (optional when handing the resin)
1. Measure the Fabric
Place the fabric under the clear tray and mark where the fabric meets the inside of the tray. We recommend using chalk — it won't leave a mark on the fabric.
 sara albers
2. Cut and Press the Fabric
Cut the fabric to 12-by-16 — this should fit the inner part of the tray. Leave a half inch on each side, and then using the iron press to make a finished edge. You will only need to do this on the sides that are not hemmed.
 Sara Albers
3. Prep the Fabric
Add a coating of Mod Podge onto the top of fabric to "seal" the it prior to adding the resin. Allow to dry.
 sara albers
4. Mix the Resin and Pour Onto the Tray
Refer to the directions on the resin container on how to mix. Pour the resin onto the fabric covered tray and allow to dry for 24 hours.
 Sara Albers
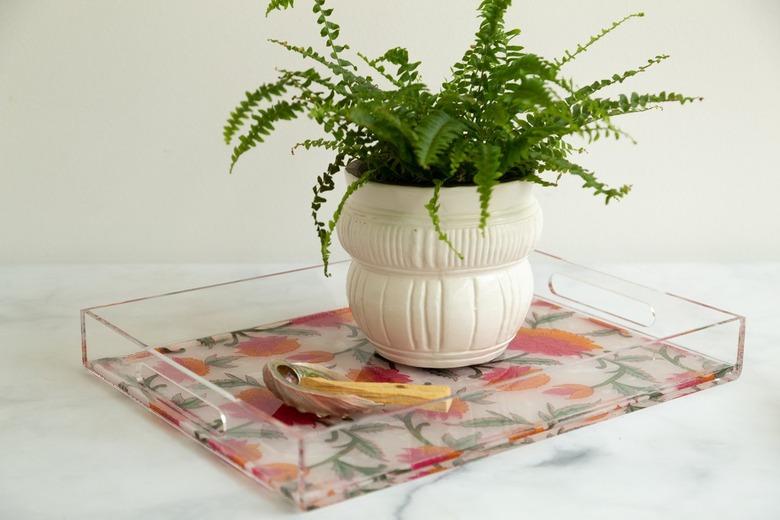
Your acrylic, fabric, and resin tray is done!
 Sara Albers