Make A Wood Floating Frame For Your Canvas Art
We love creating art for our home using inexpensive canvases. But often they seem unfinished without a frame. So, we decided to create a simple tutorial on how to make a floating frame for less than what you'd spend at a store.
This project is easy to do and you can make the frame any color or size you would like. We went with a natural wood design, but you can stain the wood a dark color or black or even gold.
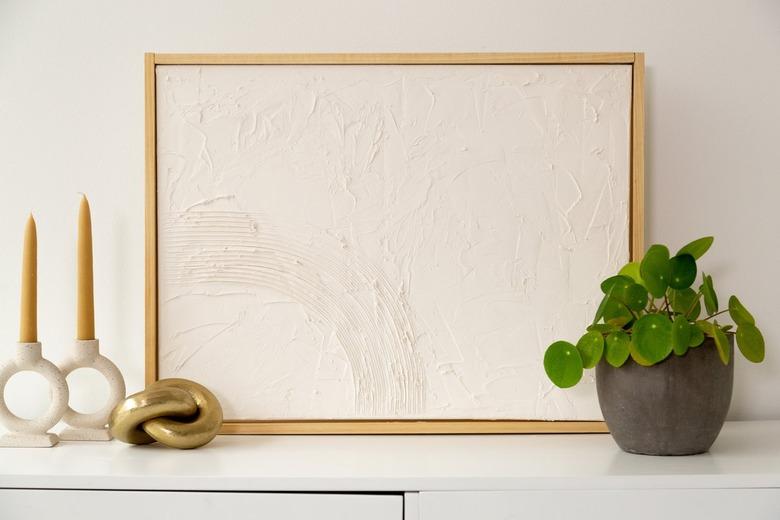
We made abstract art using spackling paste — goes on pink, and then dries white. This is a great technique to create a more modern and textural art piece.
You can find all of the supplies at your local hardware store. Read more for all the details on how to make this DIY floating frame for a canvas.
 Sara Albers
Tip
For this project, we based our measurements on a 12-by-18 inch canvas, and chose the wood pieces for the frame based on this canvas size.
Things Needed
-
Screws (1/2 inch)
-
Optional: spackling paste (for making the artwork)
Step 1
To determine your measurements, place the wood pieces on the top, bottom, and sides of the canvas. Mark the wood where you'll need to cut it so it will fit as a frame around the canvas.
 Sara Albers
Step 2
Cut the wood pieces. To fit this 12-by-18 inch canvas, we cut two pieces at 19.25 inches and two at 24 inches. If you buy 2-feet pieces of wood, you only need to cut the two side pieces of frame.
 Sara Albers
Step 3
Lightly sand and stain the wood. We used a semi-transparent natural stain.
 Sara Albers
Step 4
Attach the corner braces. We used 1.5-inch corner braces. Attach at each corner. Make a small pilot hole in each screw hole for ease. You can use a small drill bit in a drill or just use a small nail and hammer. Add a bit of wood glue between the two pieces of wood ends as well.
 Sara Albers
Step 5
Place your canvas within the frame. It should be a snug fit. If not, add a touch of hot glue to secure the canvas. You can also use wood frame joiners on the back to attach the canvas to the back of frame. Your art is now ready to hang!
 Sara Albers