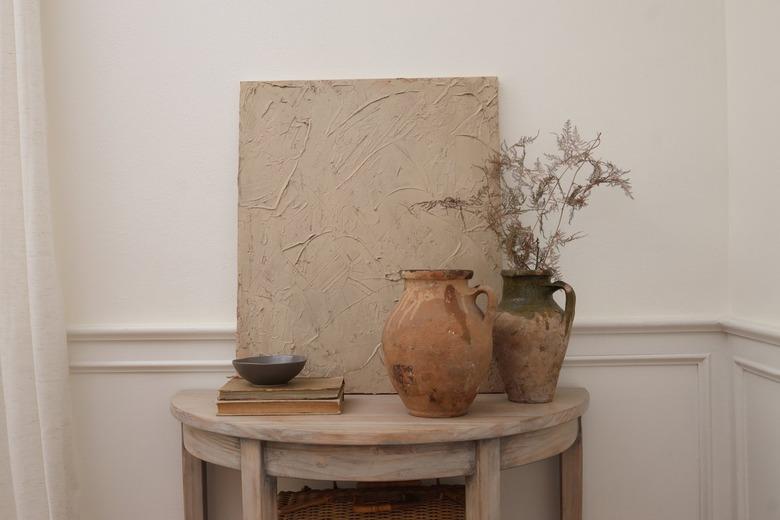
Design Textured Wall Art Using This Secret Ingredient
Textured art is a trend we've had our eye on for a while. A scroll through Instagram or Pinterest will reveal that many top designers are incorporating it into their clients' homes. If you love the look, but not the high-end price tag associated with many of these pieces, we're sharing how you can easily make your own instead. The secret ingredient? Spackling. That's right — using this humble construction material, you can create a gorgeously bespoke piece of textured art for your home.
Things Needed
-
Canvas (or upcycle an old canvas)
Step 1
Scoop about a tablespoon of spackling onto the canvas.
Step 2
Use a putty knife to spread the spackling into a thin layer. You don't want it to be too thick; otherwise, it could crack and break off when it dries.
Step 3
To create raised texture, stipple the spackling with the tip of the putty knife.
Step 4
To create ridges and lines with movement, press and drag the putty knife through the spackling.
Step 5
Continue scooping, smoothing, and texturing the spackling until the entire canvas is covered. If you don't like a particular area of the design, simply smooth it out and re-texture it. Once you're happy with the design, allow the spackling to dry overnight.
Step 6
Once the spackling is dry, you can leave it as-is, or you can paint it. We opted to paint ours with an earthy taupe color. Allow the paint to dry.
Your new textured art is ready to hang (or lean)!


