Create A Wavy Vase Using This User-Friendly Material
We may receive a commission on purchases made from links.
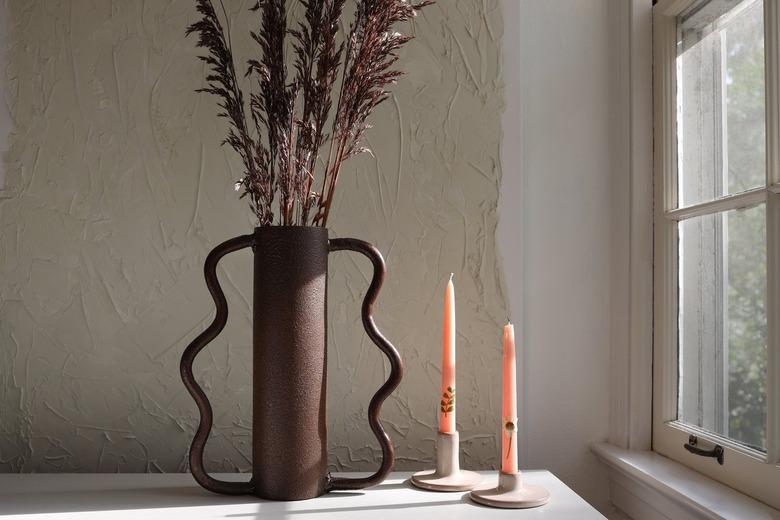
Wavy decor is still very much making waves in the design world. And we sure can't get enough of it (just see here and here). So we decided to jazz up a plain vase by adding some fun curvy handles to it. All it took was some oven-bake clay and paint. We love how its playful shape adds a touch of whimsy to any space while also looking like a super high-end vessel. The icing on the cake is that we found this vase at a thrift store for $5 (three cheers for sustainability!), but you can also check the dollar store, too.
Things Needed
Step 1
Clean the vase thoroughly to remove any traces of dirt or oil. Dry completely.
 Trisha Sprouse
Step 2
Place a sheet of parchment paper on your work surface, and roll a piece of oven-bake clay into a 1/2-inch thick log that's a couple inches longer than the vase.
 Trisha Sprouse
Tip
It helps to warm the clay up in your hands before rolling it out.
Step 3
Form the log into a wavy shape, making sure it fits the height of your vase appropriately. Since we used a tall vase, we were able to get three waves into our handles, but if your vase is shorter, two waves might be a better fit.
 Trisha Sprouse
Step 4
Cut off the ends of the wavy log to create flat edges.
 Trisha Sprouse
Step 5
Create a second wavy handle that's similar to the first one (it doesn't have to be exact). Place on a parchment-lined baking tray, and bake for 20 to 30 minutes at 250 degrees Fahrenheit. Let cool completely.
 Trisha Sprouse
Step 6
Once the wavy handles have cooled, glue them to each side of the vase with industrial-strength adhesive.
 Trisha Sprouse
Prop the handles up with heavy objects to keep them in place while they dry. Let the glue dry completely overnight.
 Trisha Sprouse
Step 7
After the glue has dried, spray paint the vase with your color of choice (we went with a textured stone paint). For good coverage, paint at least three to four lights coats, allowing 15 minutes of drying time in between each coat.
 Trisha Sprouse
Once the paint is dry, your new wavy vase is ready for florals!
 Trisha Sprouse