How To Hang Removable Wallpaper (Read This Before You Start)
We may receive a commission on purchases made from links.
Two pieces of advice: This is a two-person job, and go slowly. Trust us, we've been there and yes, have made some mistakes along the way. But since we want this process to be as seamless as possible (both literally and figuratively), we're sharing our well-earned knowledge with you. We did this entire step-by-step when we recently renovated one of the bathrooms at the Hunker House, and needless to say, we are thrilled with the end result.
Be sure to read through the directions and helpful tips before getting started — your space is about to get a total refresh. (Oh, and scroll to the bottom for other clever decorating ideas on how to use removable wallpaper around your home.)
Things Needed
-
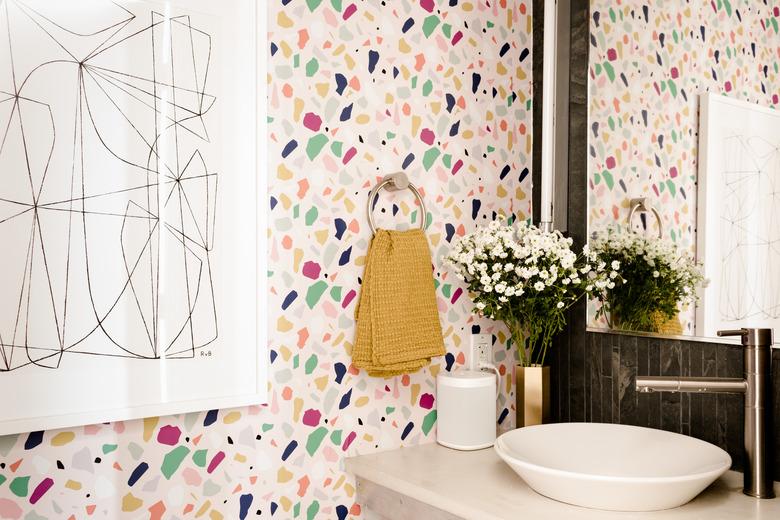
Wallpaper (We chose Big Terrazzo; for more designs and patterns, check out Society6)
-
Tape measure
-
Razor blade or utility knife
-
Step ladder
Tip: If you don't have a smoothing tool, you can use a plastic putty knife. (Be sure it's plastic — metal can damage the wallpaper.)
Before You Begin
Before You Begin
First, the big question: How much wallpaper do you actually need? Before you order, measure the length of your space. The panels designed at Society6 are 2-foot panels. Be sure to add extra panels onto your order, just in case ... especially if you have weird angles.
After receiving your wallpaper, unroll it and lay it out flat. Weigh it down with books or other heavy items. You don't want to hang it when it's curled, so let it sit for at least an hour. However, the longer it can lay flat, the better.
 Hunker
 Hunker
Step 1
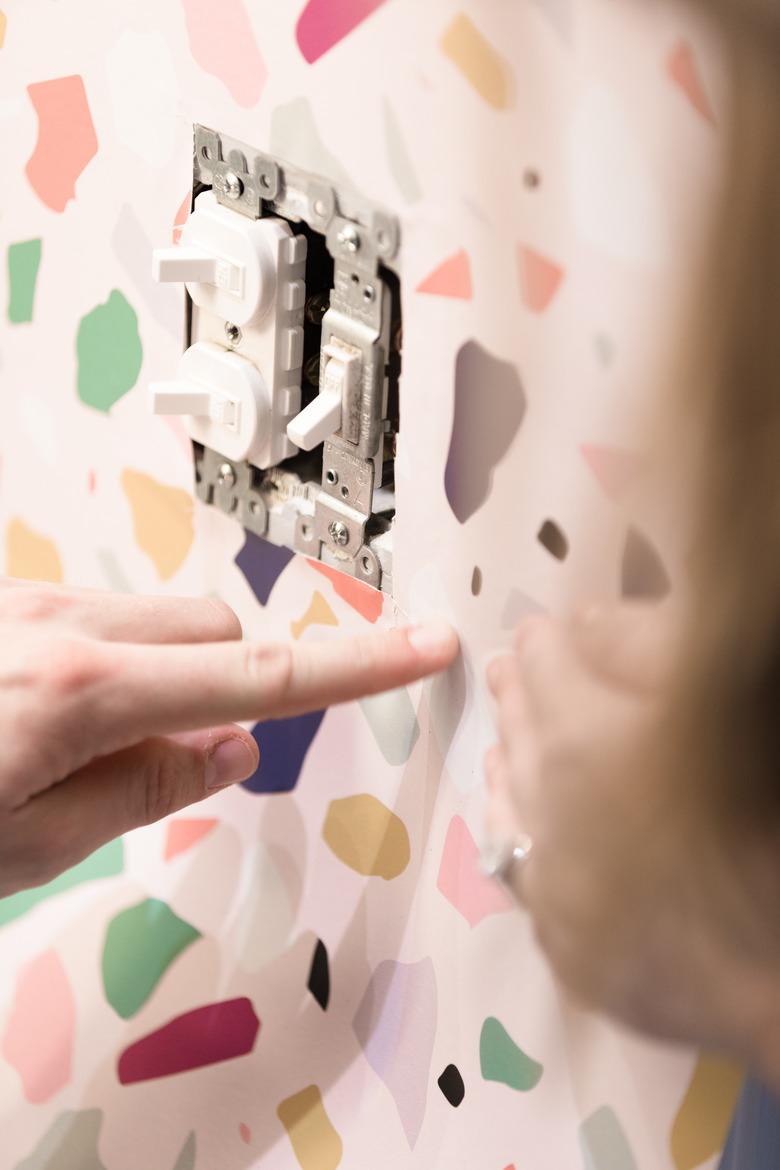
Prep your space by removing all switch plates, light covers, and anything else that might be sticking out, like nails or picture hooks.
 Hunker
Step 2
Wipe the wall(s) with a damp cloth to remove any dust or debris.
Step 3
Measure the area where you want to hang the strips. You'll need these dimensions before you start cutting your paper.
 Hunker
Step 4
Precut the panels according to the dimensions.
 Hunker
 hunker
Tip: As a safety precaution, cut the panels a few inches longer than what you measured. Any excess paper can be removed later.
Step 5
Slowly separate the adhesive backing from the paper, starting at one of the top corners. Only peel off about a foot of the backing as you begin.
 Hunker
Place the wallpaper onto the wall and begin sticking. Do your best to get it as level to the ceiling (or the top) as possible. We also recommend starting in an outer corner.
 Hunker
Continue to carefully pull off the backing, but keep the paper taut as you go. Do not pull it all off at once. We recommend pulling 2 feet ahead, cutting off excess backing as you go. Using your hands, start smoothing down the paper. Go slowly! You don't want to create bubbles.
(See why we recommend that this be a two-person job? Ideally you should have one person pulling down the backing while the other person is smoothing down the paper.)
 Hunker
Step 6
As you get to the end (the bottom of where you're hanging), rip off the backing to make more room, otherwise it bunches. Before moving on to the next panel, gently smooth over the wallpaper one more time with the smoothing tool to remove any air pockets.
 Hunker
Step 7
Time to repeat! When you're ready to hang the next panel, slightly overlap the seam and line up the pattern as best as possible.
Keep repeating steps five through seven until you're finished and your wall is fully covered.
 Hunker
Step 8
Finally, use the razor or a utility knife to cut off any excess wallpaper found along the floor or edges. In addition, carefully cut out holes for outlets and switches.
 Hunker
 Hunker
Replace outlet covers and switch plates ... and you're done! Nice work.
Helpful Tips
Helpful Tips
1) If you see a problem early on, fix it so that it doesn't amplify.
2) Make sure you don't hang the panel upside down. (We did it once. Oops.)
3) If there is a sliver where the wallpaper isn't reaching the edge of the ceiling (due to unusual angles, for example), get the color code of the wallpaper and paint the part of the exposed wall that is peeking through.
4) Save finishing tweaks and touches for the end.
And, for some fun home decorating ideas using removable wallpaper, you might like ...
And, for some fun home decorating ideas using removable wallpaper, you might like ...
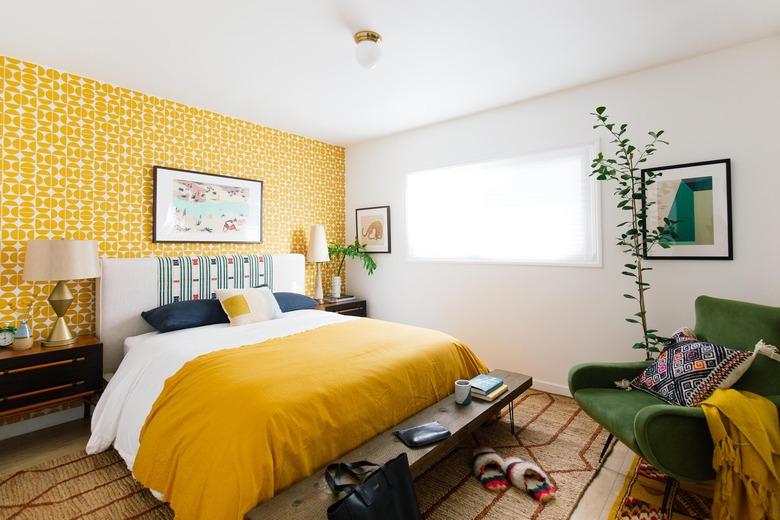
How Society6's Removable Wallpaper Made My Guest Room Pop
9 Clever Ways to Use Peel-and-Stick Wallpaper Throughout Your Home
12 Unique Ways You Never Thought to Use Removable Wallpaper
11 IKEA Hacks With Removable Wallpaper That Will Change Everything