DIY Pine Cone Fire Starter Kit
We may receive a commission on purchases made from links.
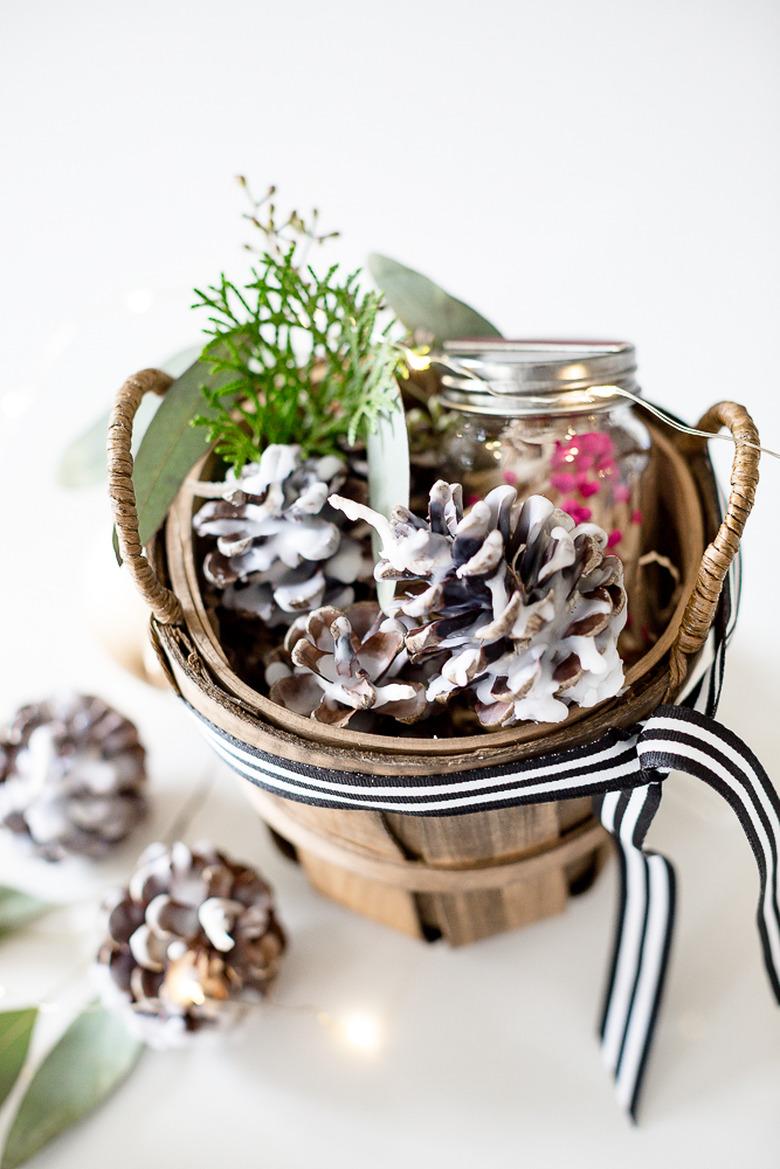
This beautiful pine cone fire starter kit would make the perfect homemade gift for homeowners with a hearth. Imagine placing these pine cones in a roaring fire on a cold winter night? The scent, the crackling sounds — heaven!
Things Needed
-
Basket, box, or other container
-
Old pot
 Lucy Akins
Step 1
If your wax comes in a block, cut it into several small pieces.
 Lucy Akins
Step 2
Place the wax in a can.
 Lucy Akins
Step 3
Cut the metal from a piece of wick.
 Lucy Akins
Step 4
Wrap the wick around a pine cone, making sure you leave approximately two inches at the top. Set aside.
 Lucy Akins
Step 5
Fill the pot with approximately five inches of water and place the can inside the pot. Bring the water to a boil and turn the temperature down to medium heat. Carefully stir the wax with a wooden stick or plastic spoon.
Warning: The metal can get extremely hot. Please use oven mitts and extreme caution when handling.
 Lucy Akins
Step 6
Once the wax is completely melted, turn off the heat. Allow the wax to cool for approximately one minute. Holding onto the wick, carefully dip the pine cone into the wax.
Warning: Please use extra caution when handling the hot wax.
 Lucy Akins
Step 7
Place the dipped pine cone on a piece of aluminum foil or wax paper and allow to cool. Repeat these steps for each pine cone.
 Lucy Akins
Step 8
Pour any leftover wax over the pine cones with a spoon.
 Lucy Akins
Step 9
Continue this process until you have the desired amount of wax covering the cones. Allow to dry.
 Lucy Akins
Step 10
Cut off any excess wick.
 Lucy Akins
Step 11
Place the shredded paper at the bottom of the basket or box.
 Lucy Akins
Step 12
Place the matches inside a small jar.
 Lucy Akins
Step 13
Cut the striking strip off of the matchbox, and then hot glue the strip onto the top of the lid of the jar.
 Lucy Akins
Step 14
Arrange the pine cones and jar inside the basket. For extra detail, add greenery, a ribbon, and a tag.
 Lucy Akins