How To Grow A New Tree From A Branch
Growing a new tree from a branch allows you to multiply the number of trees in your landscaping with little investment. This is known as propagation and the small sections cut from the branches are called cuttings or stem cuttings. Many trees will grow from hardwood cuttings gathered while the tree is dormant, at the end of fall until the beginning of spring. Always use healthy branches from the present or past season's growth.
Things Needed
-
Seed tray or 12-inch pot
-
4- to 6-inch pots
-
Plastic bag
How to Propagate Trees From a Branch
1. Cut a Branch Into Sections
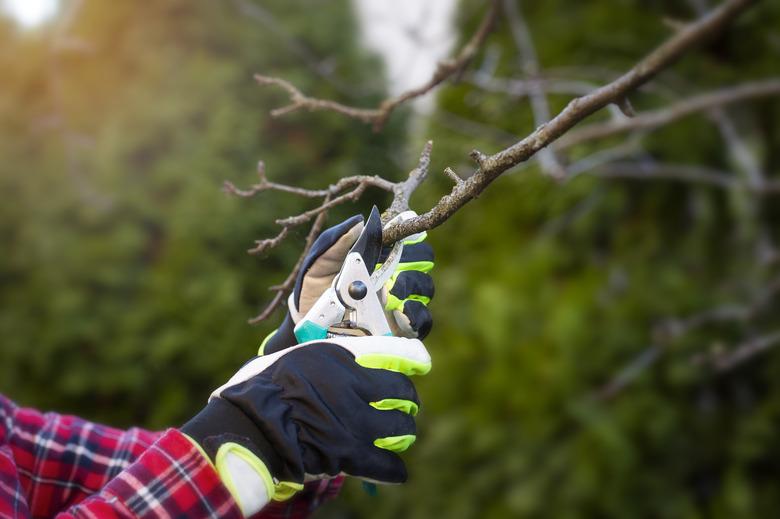
Take one or more branches from the upper part of the tree. Cut the branch into sections 4 to 6 inches long. Remove any leaves on the bottom half of the cuttings.
2. Prepare the Seed Tray
Fill a seed tray or 12-inch pot with a growing medium containing sand, peat moss and perlite. Moisten the mixture and make holes 2 to 3 inches deep for each cutting. Space the holes just far enough apart to allow light to reach all parts of the cuttings.
3. Plant Tree Cuttings
Dip the bottom of the cut tree branches in the rooting hormone. Place the cuttings in a hole and firm the soil to hold the cutting upright. Plant more tree cuttings than you need to ensure success. Put all of the cuttings in the same container, since one container can hold more than 10 cuttings. Apply water to the cuttings to settle them in place.
4. Cover the Tree Cuttings
Cover the pot with a plastic bag and place in a location out of direct sunlight.
5. Keep the Cuttings Moist
Check the cuttings often and mist with water to retain moist soil. The time required for branches to root varies depending on the tree type and could take several months. According to North Carolina University, conifers take longer to root than broadleaf plants.
6. Check Tree Cuttings for Roots
Gently pull on tree cuttings after four weeks. If you feel resistance, roots are forming. If not, check again in a few weeks.
7. Allow Roots to Develop
Allow cuttings to develop several roots over the next month. Carefully lift the cuttings with your fingers to check the root growth.
8. Gradually Remove the Plastic Cover
Slowly expose the cuttings to less humidity over a length of time by removing the plastic covering for more of the day.
9. Transplant Cuttings to Pots
Plant each cutting in a 4- to 6-inch pot filled with top-quality potting soil. Keep the soil moist, but not soggy.
10. Harden Off Your Plants
Increase the amount of light over three or more weeks until the cuttings receive direct sunlight inside. Continue to grow cuttings indoors or accustom cuttings to the outside environment slowly over the next few weeks. Allow the cuttings to grow taller and stronger before transplanting outdoors the next season.
