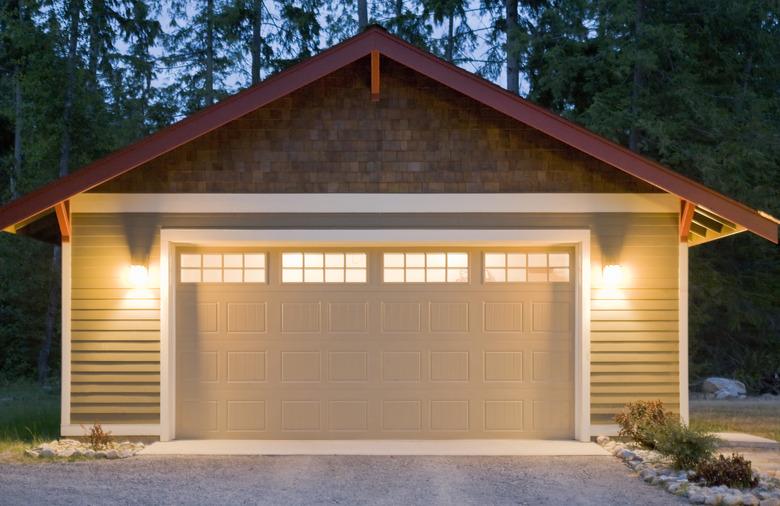
How To Run A Subpanel To A Detached Garage
Installing a sub panel — another name for a breaker box — in a detached garage makes it convenient to turn the electricity off and on when needed. (Because who wants to go all the way down to the basement when you need to shut the power off in the garage?)
When installing a sub panel in a detached garage, the first thing to think about is the size of voltage you'll need. This depends on how much power you typically use when working in your garage. If you are running welders and compressors that require high voltage then you will need a 100-amp sub panel. If you are just doing small jobs then you will only need a 50- to 60-amp sub panel.
Here's a step-by-step guide to running a subpanel to a detached garage.
Tip
If you are unfamiliar with electrical systems, it's best to have a professional electrician handle this job so you don't injure yourself or damage your home.
1. Prepare for the Job
If you do not have (and will never have) a phone cable, gas line, water lines, computer cable, or TV cable in the garage, you only need to run a red, black, and white wire from the house. The sub-panel can be grounded at the garage. Before you build the subpanel, you'll need to install a 6-foot ground rod outside the garage and run a ground wire from the sub-panel box to the ground rod. The ground wire does not have to be in a conduit.
Warning
Remember, you're working with electricity, so follow good safety procedures. The National Electrical Code (NEC) requires the installation of ground fault circuit interrupters (GFCI ) for any outside wiring. Use rubber insulated gloves when working with electricity. Never work in the panel box when it is "Live." If you do not use a GFCI breaker or receptacle outside you could get seriously shocked and start a fire.
2. Build Your Garage Sub Panel
To build your garage subpanel, dig a 20-inch deep trench for the outdoor electrical wire, which you will run from the main panel box to the garage sub panel:
- Use 1 1/4-inch PVC conduit for a 100-amp sub panel or 1-inch PVC conduit if the sub panel is 50 amps or less.
- Run the conduit from the garage to the main panel box.
- If concrete has not been poured in the garage, run conduit down into the ground on the inside of the garage.
- Use a 90-degree sweep connector, instead of a sharp 90-degree connector, to make it easier to pull the wire through.
- If the concrete is already done, run the conduit up the wall on the outside of the garage and use a PVC LB access fitting to go through the wall where the sub panel box is to be mounted. Do the same at the main panel box.
- Screw a piece of plywood that is 6 inches bigger than the sub panel to the wall where the sub panel will be mounted. This is called a backer.
- Screw the sub panel box to the center of the backer and connect the conduit to the sub panel. Some local codes require the backer to be painted black.
- Use #8 THHN wire for a 50-amp sub-panel or #2 THHN wire if the sub-panel is 100 amps.
- Run the wire from the main panel to the sub-panel box.
- Run black, red, white and green wires from the sub-panel box to the main panel box.
Tip
If the weather is cold outside, keep the wire inside to keep it warm. The wire will be easier to work with if it is not cold.
3. Make the Connections
Now you'll need to make the proper connections to finish the job:
- In the sub panel, connect the red and black wires to the main breaker on the sub panel.
- Connect the white wire to the neutral bus bar, located along the side of the main bus, and connect the green wire to the ground bus bar, which is connected directly onto the sub-panel.
- In the main panel box, install the breaker into the main bus. Connect the red and black wires to the screws on the breaker. Connect the white wire to the neutral bus bar and the green wire to the ground bus bar.
- Test the sub-panel with a voltage meter to ensure it has the correct amperage.
- Replace the panel box covers and turn the garage breaker on.
