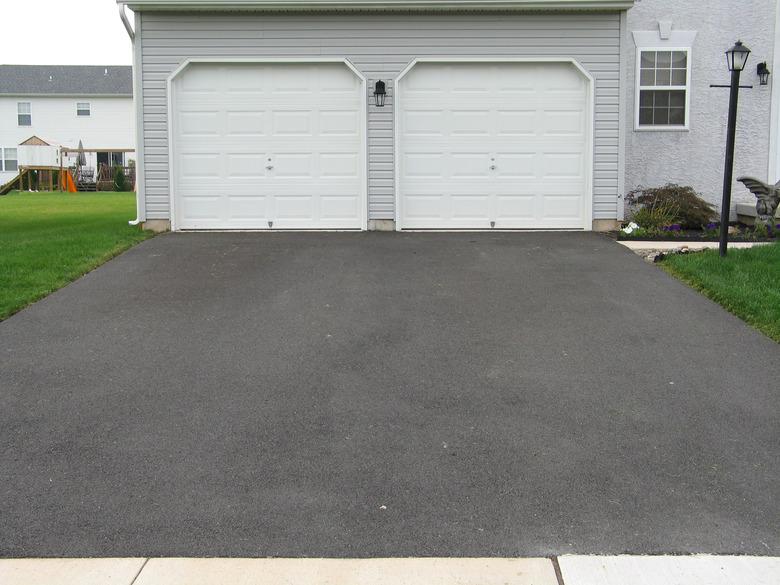
How To Resurface An Asphalt Driveway
Asphalt degrades over time, developing cracks, low spots, chips, and other imperfections. Resurfacing your asphalt driveway takes manual labor, but rewards you with a crack-free, smooth driveway. The key to a nice resurfaced driveway is properly preparing and cleaning the asphalt beforehand, completing the project at the right time of year, and using the right products. Learn the basics of asphalt driveway resurfacing before you take on this home project.
Things Needed
-
Broom
-
Leaf blower (optional)
-
Bleach
-
Bucket
-
Hose
-
Paddle mixer (optional)
How to Resurface an Asphalt Driveway
1. Remove Weeds and Debris
Pull weeds out of cracks in the asphalt by hand. Then sweep the driveway free of dirt and debris. As an alternative, use a leaf blower to easily blast dirt out of cracks in asphalt.
2. Scrub the Driveway
Prepare a solution of 1 part bleach to 4 parts water in a bucket. Then pour this solution over your driveway. Scrub the mixture over the surface with a long-handled scrub brush, allowing the bleach mixture to sit for 10 minutes. Wash it away with water from a hose and continue hosing down the driveway until you've removed the bleach solution and any lingering debris. Allow your driveway to dry completely before continuing.
3. Fill Small Cracks
Pour a liquid elastomeric filler into cracks that are 1/2 inch wide or less, working from top to the bottom and slightly overfilling the crack. Then work a putty knife over the crack, spreading out the elastomeric filler to level it. Fix all smaller cracks in this manner.
4. Fill Larger Cracks
Patch cracks up to 1 inch wide and low areas or dips using trowel grade filler. Coat a putty knife with the filler and spread the filler over the crack or dip to fix it. Use a trowel to smooth and blend the filler.
5. Mix the Resurfacer
Open your tub of resurfacer and blend it thoroughly, either by hand or using a paddle mixer. The resurfacer needs to be thoroughly mixed before application to properly work.
6. Paint the Edges
Paint the resurfacer onto the edges of your driveway by hand using a 4-inch paintbrush. Once you've coated all of the edges, you can finish the center of the driveway using a squeegee, a much faster method.
7. Apply the Resurfacer
Pour resurfacer onto the driveway from the bucket. Using a squeegee, spread the material back and forth over your driveway to coat it. Spread the material evenly in an S-pattern, working from side to side. When you run out of material, stop. Then pour more on the driveway and pick up where you left off.
8. Let It Dry
Let the resurfacer dry thoroughly before using your driveway. Go by the manufacturer's recommended wait time.
Tip
The temperature needs to be at least 60 degrees Fahrenheit with no rain the day before, the day of, and the day after resurfacing. Expect to keep cars off the driveway for 24 to 48 hours to allow the resurfacer to cure.
