How To Change A Vileda Mop
Tip
Always follow the instructions included with the replacement mop head for your specific Vileda mop.
A dirty mop is the perfect breeding location for bacteria, mold and odor. In addition, regular use will take a toll on the mop head and leave it torn and damaged, requiring replacement. Vileda mop heads are straightforward to change whenever they become unusable or too grimy to clean. The method for changing the Vileda mop head depends greatly on whether you have a string, flat or sponge mop, however.
String Mop
Step 1
Fan the mop head out on the floor and place your foot on the string mop to hold it in place.
Step 2
Grasp the mop handle and twist gently in a back-and-forth motion while lifting upward until the mop handle comes out of the mop head.
Step 3
Fan the replacement mop head out on the floor, and place your foot on the mop head to hold it in place.
Step 4
Place the bottom of the mop handle into the mop head. Push the mop handle down while twisting in a gentle back-and-forth motion until the handle clicks in place.
Flat Mop
Step 1
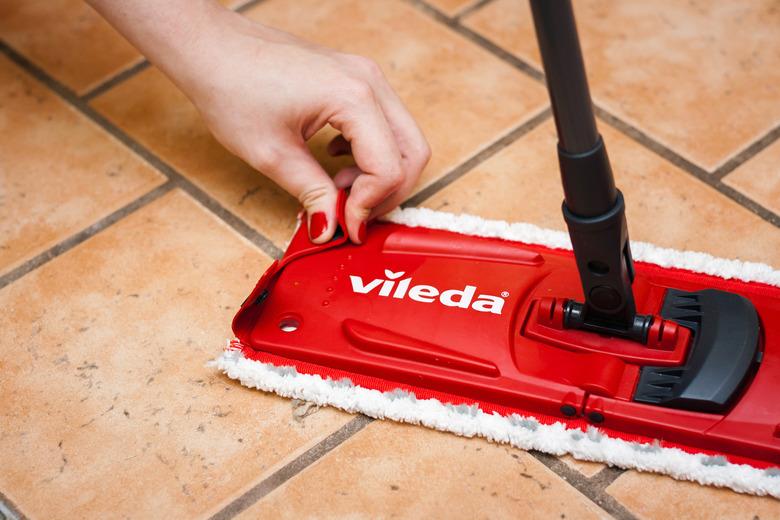
Click the four tabs on the back of the mop head up to release the replaceable flat mop head. These tabs work in the same manner as snap buttons on a shirt.
Step 2
Discard the unusable mop head in the trash.
Step 3
Place the new mop head on the mop and push the tabs through the holes of the mop. Secure the mop head to the mop by clicking the tabs down in the same manner as snap buttons on clothing. You will hear a snap when the tabs are secured.
Sponge Mop
Step 1
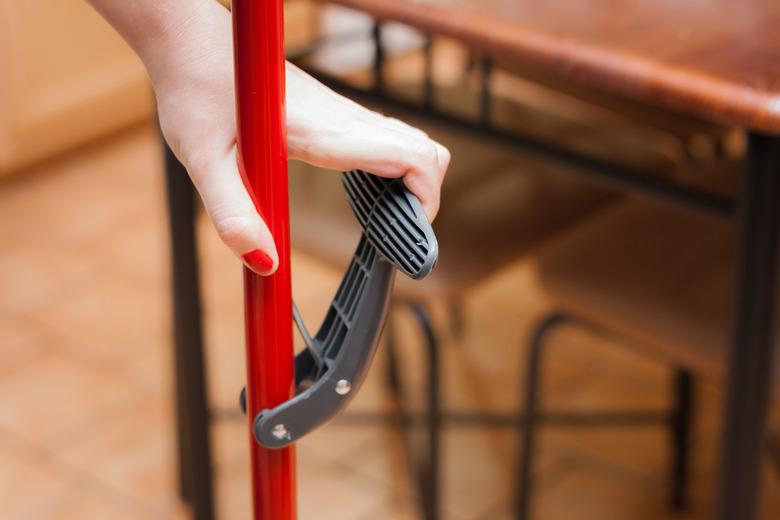
Turn the mop over so the mop head is facing up toward the ceiling. Push the release mechanism on the mop handle up to release the sponge mop head.
Step 2
Slide the old sponge mop head off the Vileda mop and discard in the trash.
Step 3
Slide the new sponge mop head onto the mop and push the release handle down to secure the mop head in place.


