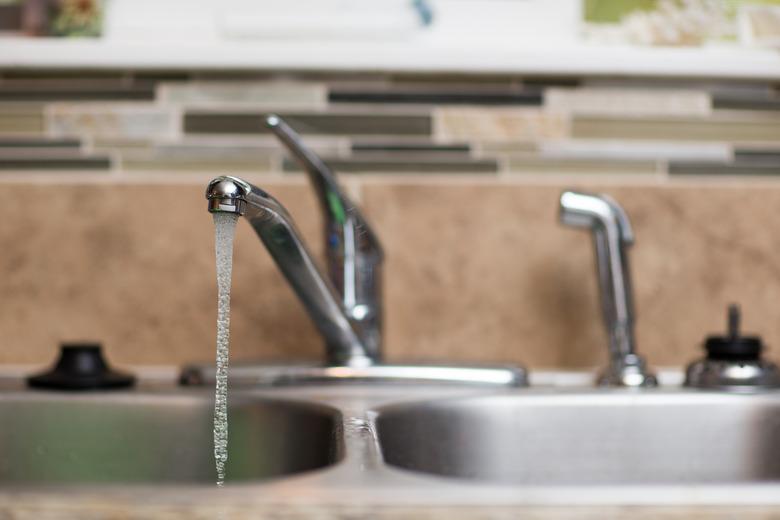
How To Remove A Moen Water Restrictor In The Kitchen
Water is a precious resource, which is why governments pass legislation requiring flow restrictors on faucets. Faucet makers, such as Moen, supply restrictors on new faucets. The saved water is a benefit to everyone, but when it prevents you from cleaning your dishes properly, it can be too much of a good thing. It's fairly easy to remove a water restrictor from a Moen kitchen faucet, and sometimes you need to remove it just to clean it.
A flow restrictor is similar to an aerator, and sometimes the two are combined. If you can remove the aerator, you can remove the flow restrictor. If your kitchen faucet has a stationary or swivel spout, the aerator is screwed onto the end of the spout. If you have a pull-down faucet, the aerator is placed inline just behind the faucet head.
Remove a Faucet Aerator
The aerator on most old-style faucets is typically a female-thread fitting, which means you can simply grasp it with your fingers and unscrew it, and that may be all you need to do. It will probably take more than finger power to get it to turn, though, and you may need a pair of locking pliers. It's a good idea to wrap a rag around the aerator before gripping it with the pliers to prevent damage.
The aerators on some newer faucets have male threads, and they fit inside the spout so you can't grasp them with your fingers. If your faucet has one of these cache aerators, you may still be able to turn it by putting on a rubber glove, inserting your finger inside it and turning. If it's stuck, you can try wedging needle nose pliers inside the aerator to turn it, but you may need an aerator removal key.
Moen sells aerator keys, but you can easily find cheaper third-party ones that will work on any Moen faucet. The key is a flat piece of metal or plastic with notches at one end that fit inside the aerator so you can turn it. It shouldn't set you back any more than about $5.
Removing a Faucet Flow Restrictor
For pull-down faucets, full instructions for how to remove the water restrictor from a Moen kitchen faucet are available on Moen's website. You'll need locking pliers and a flat-head screwdriver.
- Pull out the spout and clamp the hose to prevent it from retracting.
- Grip the collar at the end of the hose with pliers and unscrew the spray head.
- Look for the aerator inside the collar or the spray head. It can be in either of these two places, depending on the model.
- Work out the aerator gently, using a flat-head screwdriver. Be careful because you don't want to poke a hole in the screen.
- Take another look inside the cavity. If you see a plastic perforated disk, remove that as well. This is the actual faucet flow restrictor. If you want, you can replace the aerator and leave the flow restrictor out to improve flow from your faucet.
Cleaning Aerators and Flow Restrictors
One of the most common purposes of Moen flow restrictor removal is to clean it because debris and scale that collect on it can reduce flow to a trickle. To clean the aerator, back flush it under a bathroom faucet. If it's still clogged, soak it overnight in vinegar to dissolve the scale.
If the flow restrictor and aerator are separate, clean the flow restrictor when you clean the aerator. Be sure to soak it in vinegar because its tiny pinholes are extremely vulnerable to scale blockage. You should never have to replace either of these parts, but if you do, you can buy replacements at any home supply outlet or directly from Moen.
