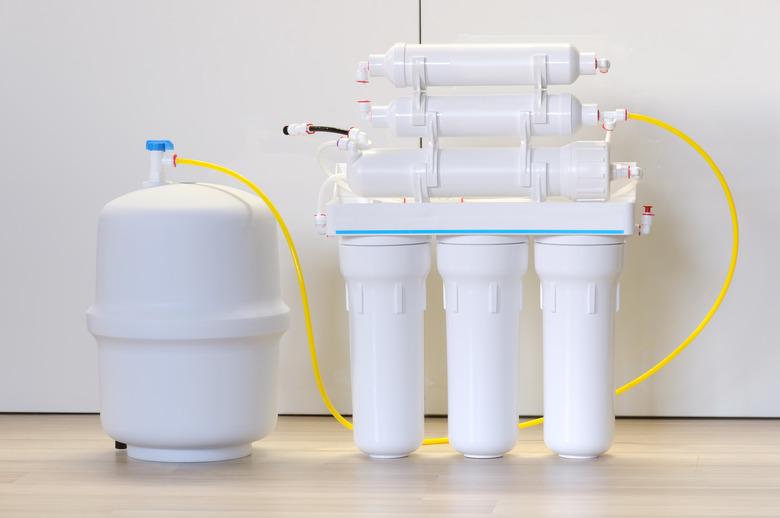
Why Is My Reverse Osmosis Not Filling My Tank?
We may receive a commission on purchases made from links.
A properly installed reverse osmosis (RO) unit will give you water almost as pure as distillation. It performs this task by passing filtered water across a semipermeable membrane that excludes anything larger than a water molecule. Wastewater is routed away from the filter into the drain. The purified water is stored in a pressurized holding tank until needed. If your unit stops working, there are a few things you can check.
Tip
If your reverse osmosis unit stops filling your storage tank, the cause may be low water pressure, a clogged or partially closed water-supply valve or line, incorrect storage tank pressure, or dirty filters.
Check the Water Supply
Check the Water Supply
First, check your water pressure. The RO unit needs about 40 pounds of pressure to operate correctly. Many older water wells were set up to operate below this pressure. If you have a well or low water pressure, you might need to install a booster pump for the unit to operate efficiently.
Next, inspect the water-supply valve, ensuring it is in the fully open position. If it is clogged or only partially open, the RO unit might not build up sufficient water pressure to operate. If the water-supply valve isn't the problem, inspect the unit's supply lines. A kinked line will restrict water flow and prevent proper operation.
Inspect the Storage Tank
Inspect the Storage Tank
Open the unit's tap and allow the water to run until the tank is empty. Then use a pressure gauge to check the air pressure in the tank. The pressure in an empty tank should be 8 pounds. If the pressure in the tank is too high, water will be unable to enter from the filters. If the pressure is too low, the water inside the tank will not flow to the faucet.
Replace the Pre- and Post-Filters
Replace the Pre- and Post-Filters
Close the water-supply valve and open the RO faucet, allowing the tank to drain. Unscrew both the pre- and post-filter housings. Replace the old filters and screw both units back in place. These filters should be replaced at regular intervals to prevent damage to the delicate membrane of the RO filter.
After replacing the two filters, close the RO faucet and open the water-supply valve. After three hours, check the faucet. If you have gone through all the steps above and still fail to get water out of the faucet, you will need to replace the RO membrane.
Replace the RO Filter
Replace the RO Filter
Close the water-supply valve; then open the faucet and drain the storage tank. Close the faucet after the tank has drained, unscrew the filter housing, and remove the RO membrane. Wash the inside of the filter housing with warm, soapy water and rinse it thoroughly. Put on a pair of clean rubber gloves to handle the new RO membrane. Bacteria from your hands can contaminate the filter membrane. Insert the new RO membrane into the housing and replace the housing on the filtration unit.
Open the water-supply valve. After eight hours, open the faucet and allow the tank to drain completely. This step is necessary to wash out the preservatives that were inside the new membrane. Close the faucet. Once the tank has filled again, the unit will be ready to use.
