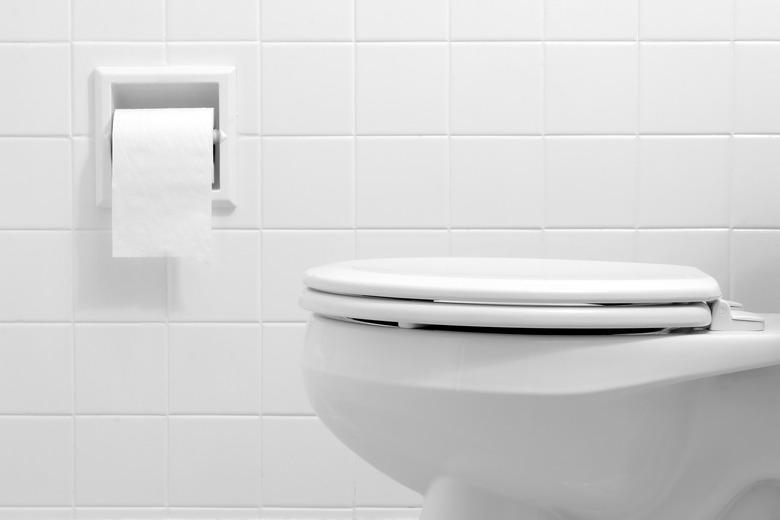
Glacier Bay Toilet Installation Instructions
Sometimes seen in commercial use, Glacier Bay toilets are also available for residential use and are exclusively distributed by Home Depot. Glacier Bay makes a variety of toilets: one-piece, two-piece (with tank and bowl detached) and U.S. Environmental Protection Agency WaterSense-qualifying toilets. Installing any of these toilets is fairly straightforward with the instruction manual and a few additional tools not supplied with the unit at the ready.
Beginning the Installation
Glacier Bay-specific parts are available through Home Depot, whereas the rest are generic, making locating parts for repairs much easier. This also means that installing a Glacier Bay toilet does not differ much from the installation of any other toilet.
When you purchase a Glacier Bay toilet, your set should come with a bag of included hardware. Lay out the hardware and toilet parts so you can easily find what you need throughout the installation process. You can also use the instruction manual to identify the pieces, making sure all are accounted for. Contact customer service if you are missing parts or if they are damaged.
There are a few tools that you will need to supply, including a putty knife, a wrench, a carpenter's level to check that your surface and toilet are level as you go, and perhaps a new toilet water supply line. When working with plumbing, avoid slipping by keeping a towel nearby to wipe up water that may leak from the pipes.
Removing the Old Toilet
The first thing you should do during the removal and installation process is shut off the water. Locate the water supply line, usually on the wall behind your toilet or on the floor, and turn the valve until the water shuts off.
Then, flush the toilet so that all water empties. You can even use a plunger to push leftover water down the drain. If necessary, you can remove the remaining water in the tank with a bucket.
Next, use a wrench to disconnect the water supply line at the valve, being careful not to damage the pipe. If you're removing a two-piece toilet, separate the tank from the toilet bowl; then unbolt the bowl from the floor. Remove the wax ring and remaining caulk from the floor with the putty knife and check that the toilet flange is in good condition and the surface is level.
Installing the Glacier Bay Toilet
First, insert the supplied floor bolts into the appropriate spaces in the toilet flange so that the threaded ends are facing up. The floor bolts should be parallel to the wall. Check the instruction manual to ensure that all floor bolt pieces are installed correctly.
Install the wax ring directly on the flange or directly onto the toilet by placing it on its side atop a towel. Once the wax ring is installed, align the toilet so the floor bolts fit through the slots on the toilet base and press down. Using the supplied hardware and following the model's instructions, secure the toilet to the floor.
To install the tank (if it is a two-piece toilet), attach the sealing gasket and carefully place the tank on the toilet bowl so the bolts fit through the slots. Secure with the supplied hardware. Next, install the flush mechanism. Depending on the model, the flush mechanism instructions may vary.
Finalizing the Installation
Connect the water supply line to the water supply valve and toilet. Once tightened, turn the water back on and allow the tank to fill. Next, install the seat.
Following the instruction manual, connect the lock-bolts to the seat so they align with the holes in the toilet. Secure this with the supplied hardware.
Last, check for leakage and ensure that all bolts and connections are secure. Depending on the toilet model, instructions may vary, so always refer to the user manual to make sure you've installed everything correctly.
