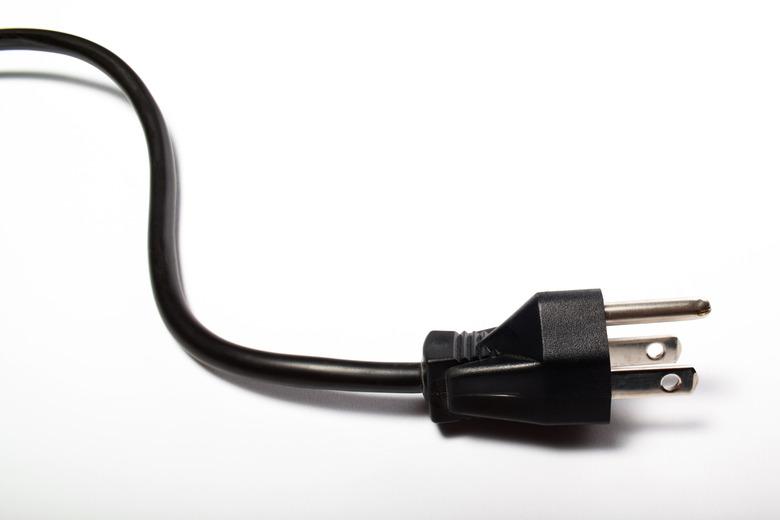
How To Wire A Three Prong 110V AC Plug
When the plug breaks on your favorite power tool or extension cord, there's no need to discard the tool or cord. You can actually replace the plug. Power tools, outdoor appliances, and some indoor appliances (such as washing machines) have three-prong plugs, which means the cords have a ground wire.
The procedure for 110-volt plug wiring is made easier by the fact that you're dealing with 14- or 12-gauge wires, instead of the beefier wires needed for 220-volt circuits. If there's room for one inside the plug casing, an underwriter's knot (or UL knot) secures the wires so you can't pull them out when you pull the plug out by the cord — which you should never do, by the way.
Tip
You can only plug a three-prong plug into a three-prong receptacle. You can buy "cheater adapters" to convert the plug to a two-prong one, although this isn't recommended by electricians and isn't safe.
What Voltage Is Needed for a 3-Prong Plug?
You'll see single-pole voltage expressed on device packaging and in instruction manuals variously as 110, 115, 120, and 125 volts. This is because of fluctuations in the panel voltage and voltage drop in the panel. The AC voltage between the two hot legs from the line transformer is ideally 240 volts, but in some cases it's higher and in others it may be lower. Each single-pole circuit draws power from one of these legs, which halves the voltage. So, if the panel is only supplying 220 volts, the appliance and light circuits in the house will run at a voltage of 110 volts. This seldom affects performance, so when you're wiring an outlet or a plug, there's essentially no difference between a device listed as 110, 115, 120, or 125 volts.
Wiring a Plug vs. Wiring an Outlet
When you unscrew a replacement 3-prong, 110-volt plug, and separate the casing, you'll see three wire terminals inside. One is brass, one is chrome, and one is green. They're the same colors as the terminals on a 3-prong receptacle. The brass terminal is for the black hot wire, the chrome terminal is for the white neutral wire and the green terminal is for the ground wire, which may be bare or covered with green insulation. Keep in mind that the cord you use for a 3-prong plug has to have these three wires. A 2-wire lamp cord won't do.
Two-wire lamp plugs and receptacles are usually polarized, and you can tell which side of the plug is hot by looking at the prongs. The smaller prong is the hot one. This isn't true for 3-prong plugs because they don't need prongs of different sizes to prevent you from inserting the plug the wrong way. The only way to know which of the prongs is hot is to look at the color of the terminal screw. The one with the brass screw is hot.
How to Wire a 3-Prong Plug
Got a broken 3-prong plug? Here's how to properly wire it:
- After you separate the plug casing and feed the cable through the end, you should tie a UL knot to secure them if there's room for it inside the casing. (This isn't really necessary if the plug has a cable clamp, but it doesn't hurt.)
- To do this, strip off about 6 inches of sheathing and make loops with the white and black wires.
- Pass the end of the white wire through the loop in the black one and the end of the black wire through the loop in the white one, then pull tight to make a knot. You don't have to include the ground wire.
- Now you're ready to loosen the brass terminal screw: Wrap the black wire clockwise around it and tighten the screw. If you wrap the wire clockwise, the screw will tighten it down onto the terminal.
- Connect the white wire to the chrome screw and the ground wire to the green one in the same way.
- Give the cord a good tug to make sure everything is secure before you reassemble the plug casing and tighten the cable clamp, if there is one.
