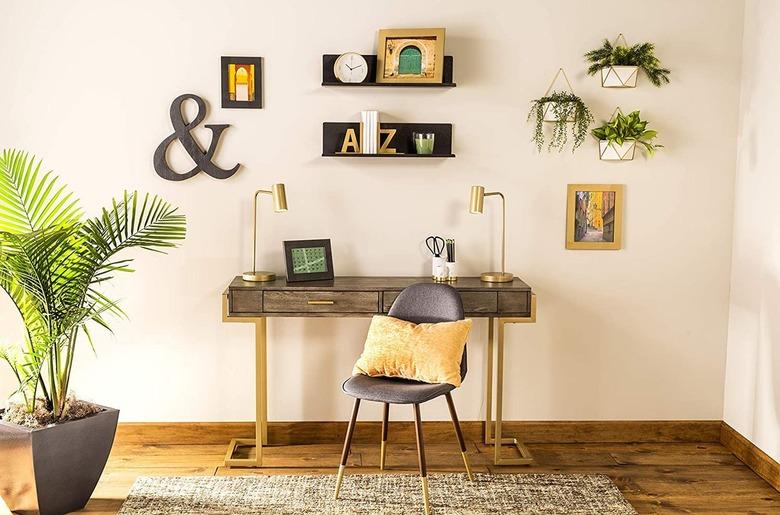
How To Paint Metal With Gold Paint
If you want to make your hardware accents, fixtures, appliances, yard furniture, or any other metal objects in your home look a little more luxurious, it's hard to beat the appeal of a shiny gold surface. But finding just the right gold paint can prove tricky, and metal requires proper preparation prior to painting. Take your time in the planning and prep stages to make sure your gold-painted metal looks classy instead of tacky.
Choose the Right Paint
Different projects and goals require different paints, but it's important to only buy a paint designed for use on metal when painting metal. Always look at sample photos of paints after they are dried whenever possible to find the right shade of gold and avoid "gold paints" that look more like bronze or brass than gold. Some products even have real metal flakes in them. Spray paints are typically easiest for beginners because there is no risk of leaving brush strokes, but make sure your paint has a comfortable tip that is not too narrow or you may hurt your finger trying to cover the entire surface.
Enamel is a good choice for metal surfaces because it stands up well to use and cleaning, but because it is an oil-based paint, it can take a long while to dry. On the other hand, the longer it takes for a project to dry, the longer it will be before you can apply additional coats and the more likely dust, dirt, or other debris will float into the paint, so acrylic paint is often easier to work with. Remember that because metals have a propensity for rusting, it's a good idea to look for something with rust protection. Also, if your object will be near a window or outside, find a paint with UV protection.
If you want the project to go quickly, buy a paint with a built-in primer, but if you find a paint you like that doesn't have primer in it, remember to also purchase a spray-on primer suitable for use on metal.
While spray paints state the amount of coverage you should expect to get per can, buy a few extra cans to ensure you have enough for the whole project. Don't forget to account for the fact that a good gold finish takes at least two coats to really shine.
Prepare Your Surface
Before you get started, rough up the surface to help the paint better adhere to it. Start by sanding away all rust or loose paint with 180-grit sandpaper and then use a metal brush and sandpaper to rough up the surface so the paint can adhere well. You'll know the surface is ready when it looks like brushed nickel. Use a damp microfiber cloth to wipe the surface and remove any remaining dust or dirt. Then, allow it to fully dry.
Get Ready to Paint
Lay out a drop cloth to protect the ground. Put on a respirator and goggles to avoid breathing in the fumes or getting them in your eyes. If your paint doesn't have primer built in, start by applying a layer of primer and then allowing the primer to dry fully before painting.
Apply spray paint about a foot away from the surface of the object, working in a straight up or down pattern and slightly overlapping the previous row on each pass. Give the can a quick shake every time you finish a row. Allow the paint to dry before adding a second coat to add sufficient sparkle and shine.
