My Laminate Flooring Won't Lock
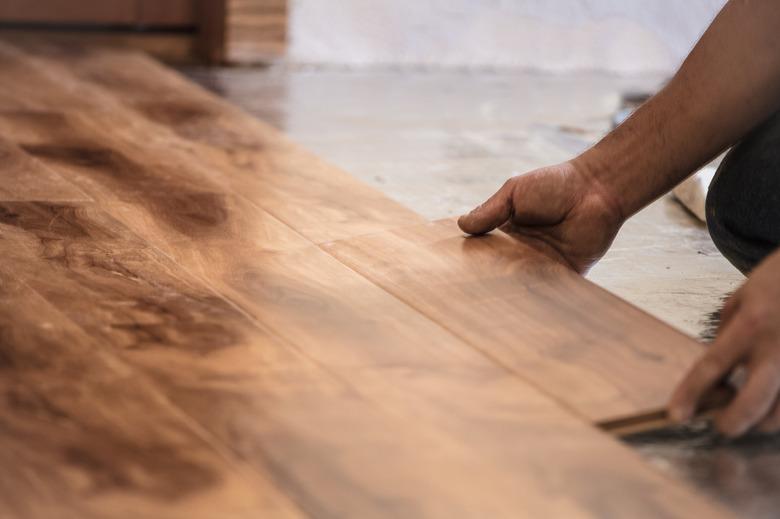
Laminate flooring has a snap/click locking system that seals the floor together tightly so that the floor will not come apart. Although the flooring is normally easy to install and lock in place, you may encounter a problem that prevents the pieces from locking together. Click lock flooring problems usually boil down to just a few recurring causes, which are usually easy enough to troubleshoot.
A Few Possible Problems
Some common reasons why laminate pieces won't snap into each other include:
- A warped or flawed piece of laminate
- A heaved or uneven subfloor
- A piece of debris trapped under the flooring or underlayment, or in the flooring's grooves
- A protruding nail or screw head
To troubleshoot, start by holding the plank up at eye level to see if it is warped. If not, examine it for manufacturing flaws or debris in the grooves. If there's debris you can brush it out, or if there's a defect you can trim the plank to remove the affected section.
If the problem isn't with the plank itself, problem, look at the floor underneath your work area. If nails or screw heads prove to be the culprit, lift the underlay and drive them all so they're flush or countersunk. If there's debris beneath the underlayment, pick it up manually or sweep it up before replacing the underlayment.
The causes of vinyl plank flooring not clicking are typically the same, so you can follow the same steps with that material.
The Tools You'll Need
When you are installing snap and click laminate flooring, you will need a soft rubber mallet and a plastic tapping block or a block of wood. The block of wood can be a scrap piece of wood, as long as it is flat on both sides. Use caution when using a block of wood and a mallet on some laminate flooring. Some locking systems are can be damaged from the tapping, which is why it's safer to use a tapping block.
Snapping the Side Grooves
Snap together the sides of the laminate pieces together by holding the piece you need to install upwards. Slide the tongue of laminate being inserted into the laminate already on the floor. As you are moving the piece into the grooves on the flat piece, lower the piece in your hand as you are pushing it together with the flat piece. You should hear a click.
If you don't hear the click, use the block of wood and soft rubber mallet to finish the connection. Place the block on the left side of the outer piece of laminate. Gently tap the block of wood with the mallet. Move to the right side and do the same. Finish the connection by tapping the center of the plank.
Snapping the End Grooves
To fit the end pieces together, you angle the second piece of laminate upwards. As you push the piece you are holding towards the laid piece of laminate, start moving the piece downwards so that the grooves meet each other. Push the piece you are holding into the first piece. Use the soft rubber mallet and the block of wood to secure the connection. Place the block of wood on the end of the second piece of laminate. Gently tap the block of wood with the mallet until the pieces are flush and form a tight seam.
