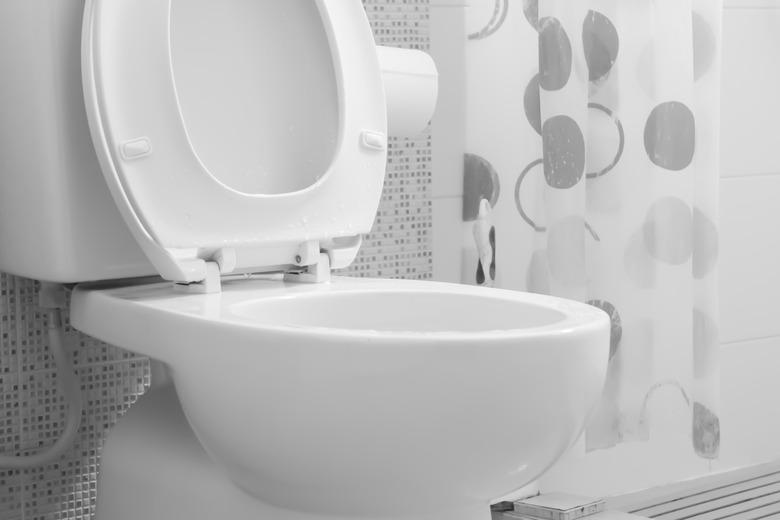
How To Replace A Slow-Close Toilet Seat
Toilet seats are a household item that homeowners rarely think about until it is time to replace one that is broken or dysfunctional. If the toilet seat in question is a slow-close toilet seat, you may think it will be a more difficult job; however, it is no different than replacing a regular toilet seat.
The tools required to do the job are minimal, and this task could take you as little as 15 minutes. Why hire a professional handyman to come install your slow-close toilet seat when you can do it yourself for a fraction of the price?
Slow-Close Toilet Seat Benefits
Before getting into the details on how to install the toilet seat, it is important that you understand the benefits of selecting a slow-close toilet seat system. The bathroom becomes a very noisy place once people begin using it. Closing the lid or seat usually results in loud slamming noises, but these noises can be eliminated by choosing a slow-close toilet seat.
By replacing your toilet seat with a slow-close seat, you will also be trapping germs in the toilet before you flush. The seat will slowly close when you get up and instead of making the bacteria in the toilet airborne once you flush, they will be blocked by the lid, resulting in a cleaner bathroom.
Selecting the Right Toilet Seat
All toilet seats may look the same, but this is definitely not the case. H2O Bungalow says that a typical toilet seat is 14 inches to 14 1/2 inches wide, but it is possible that you have an elongated toilet seat. To make the seat replacement process go well, you must replace your toilet seat with another that has the same dimensions. Make sure to measure your current toilet seat before making any purchases to avoid frustrations when you go to physically make the seat switch.
Replacing a Slow-Close Toilet Seat
To complete the replacement process, the tools you will need are a Phillips head screwdriver or a flathead screwdriver. Before touching the current toilet seat, make sure to properly clean and disinfect the toilet so that you are not elbow deep in bacteria.
Begin by removing the old toilet seat by using the flathead screwdriver to pop up the bolt covers that can be found where the toilet seat almost touches the toilet tank. With the covers popped up, you should see the screws that are holding the seat in place. Use your screwdriver to remove the screws. You may need to locate the nut at the end of the screw with your free hand and hold it to make the removal process easier. Once the screws are taken out you should be able to remove the cover and the seat completely.
Take the screws that come with your new seat and use these to install your new seat. You may see a gasket in the package that was not there with your old seat. Put the gasket in the now empty holes, place your new seat on the base and line up the mounting holes with the holes in the base. Insert the new screws and tighten with the included nuts as much as possible. Click the coverings into place and your seat should be ready to use. HomeRises.com depicts the replacement process in photos to make it easier if you are a visual learner.
