How To Repair A Grohe Faucet Spray Handle
A Grohe spray faucet is a great way to turn your kitchen sink into a sleek, multifunctional appliance, but even these finely-tuned mechanisms can develop problems. As Grohe America explains, if the water flow is weak or unevenly spread around the spray head, there may be a problem inside the spray head, the hose or supply line. Fortunately, Grohe faucets come with several simple troubleshooting measures you can complete at home without calling a plumber or ordering a replacement.
Beginning to Troubleshoot
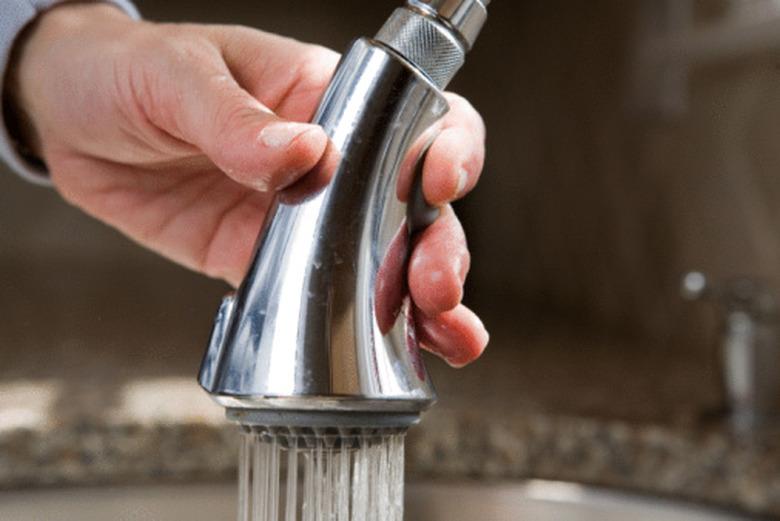
First, narrow down the source of the problem. Before taking apart the spray head, make sure that the issue doesn't lie elsewhere. To do this, remove the spray head without disassembling it and check the flow of water without it. Grip the spray head, holding it in place, while using your other hand to turn the cap above it counterclockwise to unscrew it.
Then, hold the hose firmly and pull down on the spray head to remove it. Set the spray head aside and check the flow without the spray head. Be sure to check all three tap positions: all cold, all hot and mixed. If the flow is unsatisfactory in only the hot position or only in the cold position, the problem is probably with one of those lines, which you will need to trace under the sink and inspect.
Hose Check Valve Issues
If the flow is weak in the mixed position or in both hot and cold positions, the issue may be in the Grohe faucet hose check valve. To troubleshoot this part, first, go under the sink and turn off the water supply to the hot and cold water lines. These should be oblong valves on each line. If you can't find the shutoff valves under the sink, turn off the water to the entire residence by the meter.
Once the water is off, lift the spring off the base of the hose. Unscrew the hose nut counterclockwise and pull up on the hose assembly. It should come off. Immediately inside the end of the hose should be a check valve flow restrictor.
To remove it, take a flathead screwdriver, insert it in the middle of the check valve and gently hook it under the lip and pull it out. Inspect the check valve for damage. It may need to be replaced, in which case you can order the part from the Grohe website.
Next Troubleshooting Steps
Flush the check valve from the front side and the back side. If you see debris you can't get out, it may need to be replaced. Once clean, reinsert it with the colored face on the inside and check the flow again.
If this does not address the issue, it's time to disassemble the faucet head. On the end of the spray head that was attached to the hose is another check valve. Remove this one in the same manner as the other one with a flathead screwdriver.
Flush it front and back, and again inspect for damage or debris in case it needs to be replaced. Reinsert it and check the flow again, turning the water back on. If the problem persists, address the other end of the spray head.
The Grohe Faucet Key
After turning the water back off, prepare to use your Grohe faucet key. This multitool comes with every Grohe faucet and can be ordered from the website if you need a replacement. There should be a narrow tab sticking out of one round end of it. Insert this tab between the innermost circle on the head of the faucet and the narrow ring before the wide outer ring of the aerator.
The narrow ring in between should pop out. Then the other end of the faucet key can be inserted where the ring was. Twist it counterclockwise to unscrew the entire face of the faucet, and, if it's dirty, soak it in a 50-50 solution of water and white vinegar for 15 minutes, then reinsert and use the Grohe faucet key to assemble the faucet head.
Check the flow again. If none of these steps work, or if the water is coming out of the entire spray head without the button being able to control the flow, the spray head will need to be replaced. You can also contact Grohe. The manufacturer explains they offer a limited lifetime mechanical warranty on all products.
