DIY Socket Organizers
Things Needed
-
Hardwood dowels, 1/4 inch, 3/8 inch and 1/2-inch in diameter, 48 inches long
-
Miter saw
-
Sandpaper
-
2-by-6-by-48-inch board
-
Drill press
-
1/4-inch, 3/8-inch and 1/2-inch drill bits
-
Wood glue
-
Damp rag
-
Wood finish
-
Paintbrush

Stop searching for the right socket and get organized before your next project with a do-it-yourself socket organizer. This organizer is made from 2-by-6-inch dimensional lumber and dowels that match the diameter of the three most common drive sizes. The drive end of the socket slides onto the dowel and keeps the sockets neatly in place on the board. An advantage to this method is that you can customize the board so that you have exactly the right combination of dowels for your socket collection.
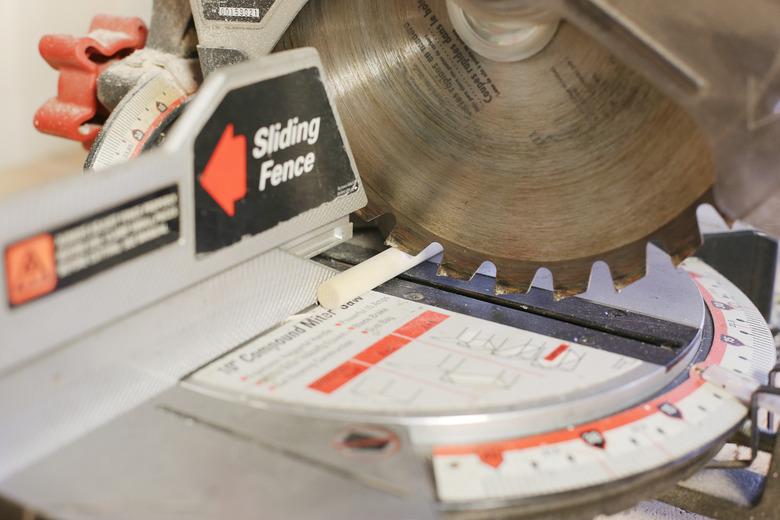
Step 1
Cut the hardwood dowels into 2-inch-long sections. Make as many sections as you need for your sockets. Cut the sections with a miter saw.
Step 2

Sand one end of each dowel section to round over the edge slightly. The slightly rounded end is the end that fits onto the drive end of the socket.
Step 3

Cut the 48-inch board into two 18-inch long sections. These are the bases for the socket organizers.
Step 4

Measure and mark the spots for the holes in each base on one 6-by-18-inch side. Space the holes into three evenly spaced rows, approximately 2 inches apart. Note which holes will be 1/4 inch, 3/8 inch and 1/2 inch based on your needs.
Step 5

Drill the 1/4-inch, 3/8-inch and 1/2-inch holes into the marked spots on the bases with the 1/4-inch, 3/8-inch and 1/2-inch drill bits respectively using a drill press. Drill the holes 1 1/4-inches deep.
Step 6

Sand each base to remove any burrs left from the drilling process. Always sand in the same direction as the grain.
Step 7

Apply glue to the holes and insert the dowels into the corresponding holes in the bases. Wipe the excess glue off the bases with a damp rag. Allow the glue to dry.
Step 8

Apply a wood finish to the socket organizers. Allow the finish to dry prior to handling.
Tip
Add labels to the base for easy organization.
Warning
Wear eye protection and follow manufacturer's safety warnings when working with power tools.