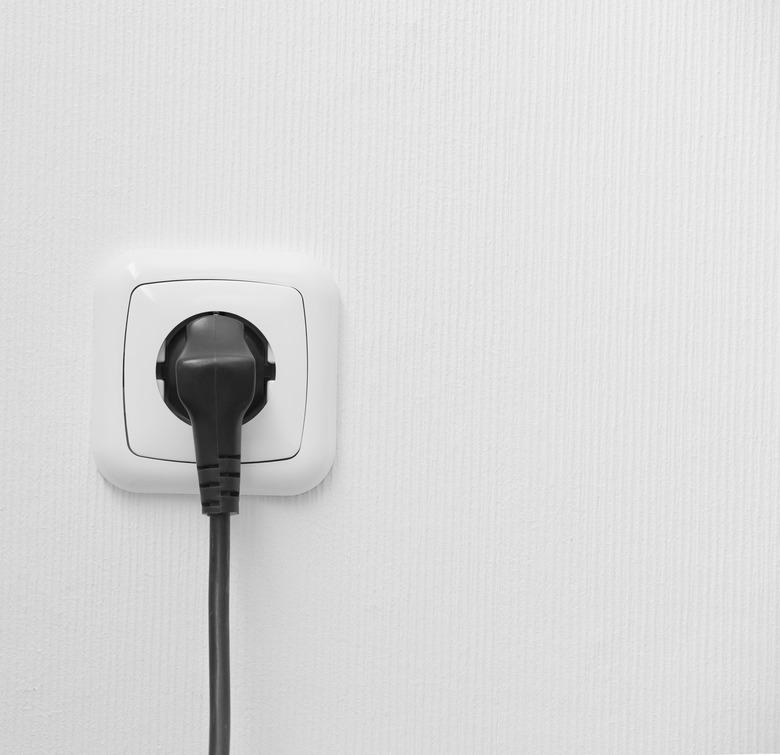
How To Replace A 220 Electrical Outlet
Larger appliances, such as clothes washers and dryers, freezers, ovens and some electrical heaters, require a 220-volt electrical outlet for adequate power. Although these outlets are designed to withstand more stress from larger power cables and prongs, they do wear down over time and must be replaced. Your 220-volt outlets can have either three or four wires connecting them to the power source. Make the job easier by using a replacement with the same 220 wire setup.
Practice Safety Precautions
Even though the job is relatively easy, it's also very dangerous. Before you replace the electrical outlet, turn off power to your 220-volt outlet circuit at the circuit breaker. Always "lock out" your circuit breaker box to prevent accidental activation of the power switch while you're working on the outlet. Not doing this may result in serious electrocution injury or death. Close the door to your circuit breaker box and install a lock onto the door if your breaker box has a lock lug to prevent others from accessing the switches while you're working on the outlet.
Test the outlet to ensure the correct switch was turned off. A digital multimeter set to measure 220 volts AC or a lighted test probe designed to measure up to 240 volts AC lets you test it. To use a multimeter, turn it on to measure 220-volts AC, and insert the black-handled metal test probe into the left, or negative, outlet slot. Insert the red-handled metal test probe into the right, or positive, outlet slot. If the meter reads zero volts, it's safe to work with the outlet. A lighted test probe lights up when there is power. Simply connect the alligator clip to the metal mounting screw of the outlet, and insert the sharp probe tip into the right slot of the outlet. If the light doesn't activate, it's safe to work with your outlet.
Remove the Old Outlet
Now that you know there's no power going to the outlet, it's time to get rid of the old 220 wall outlet. Remove the exterior mounting screws of the 220-volt outlet casing. Gently pull the outer cover off of the outlet to reveal the interior. Remove the interior mounting screws of your outlet that attach the metal outlet frame to the wall. Pull the outlet out from the wall gently and slowly, letting the wires stretch as you pull. Be careful not to pull the outlet too rapidly. You don't want the wire ends to break off of the mounting screw posts.
Look at the layout of the outlet and how the wires connect to it before you start unhooking the wires. If necessary, draw a basic diagram on a piece of paper showing which wire colors mount to each of the three or four screws of your outlet. Then, use a screwdriver to loosen all the wire mounting screws until they're fully unscrewed. Use a pair of needle-nosed pliers to disconnect the wire ends from the screw posts.
Install the New 220 Wall Outlet
Orient the new outlet in the same way the old one appeared. Connect the wires from the wall to each of the screws. Double-check your wire colors to be sure they are connected to the correct screws. Looking at the new outlet, each screw will be colored, or the name of each screw post will be molded into the plastic near each screw. Four-wire outlets connect as follows: black goes to negative, red goes to positive, white goes to common, and green goes to ground. Three-wire outlets connect as follows: black goes to negative, red or white goes to positive, and green goes to ground.
Tighten all of the screws firmly onto the wire ends with a screwdriver. Gently fold the wires back into the wall much the same as they were folded in the wall with the old outlet. Press the new outlet mounting "rabbit ears" firmly against the wall or metal chassis so the mounting holes line up. Insert the mounting screws and tighten fully. Place the outer cover over the outlet and screw it on.
Restore the Power
Turn on the power, at your circuit breaker, to your newly installed outlet, and test it with your multimeter or lighted test probe to see if it works. Use the same multimeter settings and multimeter or light probe procedure that you used to initially test the outlet. If you're using a multimeter, the reading should show between 235 and 240 volts.
If all the wires get connected correctly, your 220 outlet should be fully operational. As long as you follow safety precautions and replicate the wire arrangement that was already in place, the job should go smoothly.
