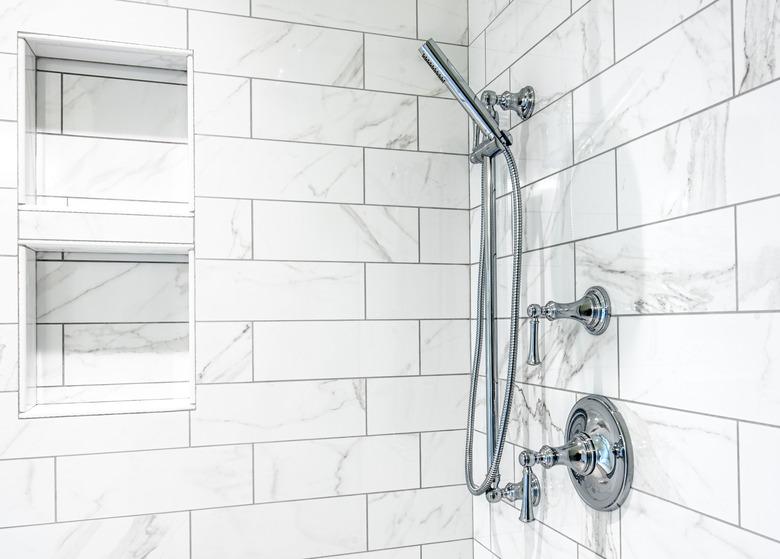
How To Fix A Moen Shower Valve With No Hot Water
Moen single-handle shower valves contain a cartridge that regulates the flow of hot and cold water. In addition, some Moen valves, including the Posi-Temp line, have a feature called scald-guard, which is an adjustable stop that limits how far you can turn the handle in the hot direction.
If you are not able to get hot water from your Moen valve, the solution may be as simple as adjusting the scald-guard feature. But if that doesn't work or there is no such feature, you'll have to remove the cartridge and clean or replace it.
How to Fix a Moen Shower Valve With No Hot Water
1. Check Hot Water Line
Check to make sure there is no valve on the hot water line somewhere in the house that is turned off and preventing hot water from reaching the shower.
2. Remove Valve Handle Cap
Pry off the cap of the valve handle, if there is one, with a screwdriver and then unscrew the handle from the faucet stem. Some handles, particularly lever-type, may be attached with an Allen nut. If so, loosen it with an Allen wrench and remove the handle. Then pry the escutcheon from the wall and remove it.
3. Check Posi-Temp Valve
Check the Posi-Temp valve on the hot water inlet. If it is in the vertical, off, position, rotate it 1/4 turn to the horizontal position with a screwdriver. If the faucet has a scald-guard limiter, check it and adjust if necessary. Then replace the handle and try the faucet.
4. Turn Off Water to Shower
Turn off the water to the shower if there is no Posi-Temp or scald-guard feature or if adjusting these makes no difference. Then remove the handle and the plastic scald-guard limiter.
5. Remove Pin Holding Cartridge
Use needle-nose pliers to remove the pin holding the cartridge in place by grasping it and lifting it straight out. Be sure the water is off before you do this. Otherwise, you will have an uncontrollable geyser that you won't be able to stop until you do turn off the water, and you could be scalded.
6. Pull Cartridge From Faucet Assembly
Replace the handle on the faucet stem and use the handle to pull the cartridge out of the faucet assembly. Pay close attention to the orientation of the cartridge because it or its replacement will have to be inserted in the same orientation.
7. Examine Cartridge for Blockage
Examine the cartridge holes for signs of blockage that may be preventing hot water from passing through the valve. Shake the cartridge and listen for a rattling sound, similar to that of a paint can when you shake it. If you don't hear any, the balancing spool may be stuck, which can happen if you don't use the shower for an extended period. You can avoid this by turning on the shower every few weeks, even if you don't use it.
8. Clean Spool and Cartridge Interior
Hold the cartridge in your hand and push the stem with your thumb. When the end cap pops off the other end, pry the spool loose with a small screwdriver. Clean it and the inside of the cartridge; then reassemble the cartridge and shake it. If you hear a rattling sound, reinstall it in the faucet. If you cannot clean it sufficiently to produce a rattling sound, replace the cartridge.
9. Insert Cartridge Back Into Valve
Insert the cartridge or its replacement back into the valve and push on the handle while you re-insert the holding pin. You shouldn't have to force the pin. When the cartridge is properly seated, it will slide right in.
10. Replace Scald-Guard Limiter and Handle
Replace the scald-guard limiter and the handle and tighten the screw to hold the handle securely to the faucet stem. Then snap the cap back on.
