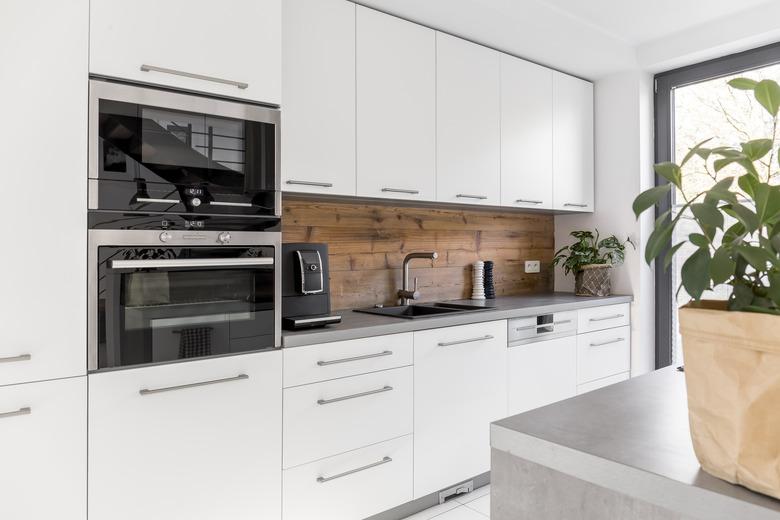
How To Build A Double Oven Cupboard
A double oven unit is two smaller ovens that stack on top of each other to allow multiple baking or roasting projects at a time. These double ovens are typically installed in a wooden cupboard or cabinet sized to the oven, often with cabinet shelving on top and a drawer below. However, these cabinets have to account for the weight and heat of the oven as well as for the electrical or gas lines that need to be connected to the oven.
Building a Double Oven Cabinet
First, consult your chosen oven model's installation guide. It will have exact measurements of the oven and what requirements the cabinet needs to meet. Ovens generally come in widths of 24 inches to 36 inches and require a cabinet depth of 24 inches to 28 inches. There may also be a suggested or minimum distance from the floor or ceiling, and a minimum required space in front of the unit for operating the doors. As Home Depot explains, this door opening space may be about 21 inches.
The cabinet also needs to be able to hold a weight of about 300 pounds and withstand temperatures above 190 degrees Fahrenheit. Standard 3/4-inch cabinet-grade plywood should be able to meet all these requirements, but be sure to leave the sides facing inward (toward the oven) unfinished. While wood can withstand high temperatures, paints, finishes, lacquers and other such products may not be able to. Also, check that any glue you use is rated for the correct temperatures.
Oven Cabinet Ideas
To start your drawing plans to build a wall oven cabinet, sketch out the proposed placement and design of the cabinet. Base these on the installation instructions that came with the unit and on the layout of your kitchen. For example, it's important to have a place to set the hot food immediately next to the oven — don't place it in the middle of a wall with other cupboards or pantries all around.
Remember that if you're building in place, you can build the full height from floor to ceiling. If you're not building in place, make sure there is room to maneuver the unit in once it's assembled, especially if you need to reduce the height so it can be tilted in. Remember to account for the styles and rails for the face frame, which will cover the raw edges of the plywood and match the rest of your kitchen trim.
Determine the height for the upper oven using the height of your counters. Build the height and trim to match the rest of your kitchen. Mark's Carpentry recommends maple plywood because it stains and paints well, easily matching your décor.
Cutting Cabinet Parts
Cut the side pieces to the appropriate measurements (usually 84 to 96 inches in height). Mark the heights at which the shelves and cross-pieces will sit according to your sketch and the manufacturer's recommendations. Cut the shelves between which the oven will sit. The bottom shelf will need to be reinforced to support the weight of the oven.
To do this, attach it to the sides with metal brackets or cleats. You can also insert an additional layer of the 3/4-inch plywood along the sides all the way down to the floor (this will subtract a little bit from the width of any drawer you want to add).
Finally, another method is to insert a brace in the middle of the lowest compartment, under the weight-bearing shelf. This will mean you can't have a full-width drawer in the lowest compartment to hold baking sheets and other large items. Assemble the rest of the pieces with wood glue and wood screws.
Connecting Electricity and Gas Lines
To connect the gas or electric lines, consult the installation instructions that came with the unit. They will specify the type of electrical supply that is necessary, what kind of circuit and fuse setup is required and how it needs to be wired. A diagram is often provided.
If you do not already have electrical or gas lines in place at the site where the oven will be installed, consult a professional electrician or plumber, depending on the type of oven. Note that a gas oven may still require an electrical line.
